If you have an older website, it might be time for a little refresh, or perhaps even a complete redesign. Alternatively, you may want to add new features to your site, such as e-commerce plugins and marketing tools, to expand its functionality. In either case, you may be looking for a way to test these changes before making them available to your visitors.
Using a staging environment lets you experiment with your site’s design and functionality without interfering with your existing content. Once you’re happy with these changes, you can go ahead and push them to your live website.
In this post, we’ll look at why you may want to use a staging environment when redesigning or updating your content. We’ll then show you how to migrate your WordPress staging site to your live website in four simple steps. Let’s get started!
Why you may want to use a staging site for web development
A staging site is an offline copy of your live website. WordPress developers and site owners typically use this private environment to test new features and tools or work on design projects.
There are several reasons why you may want to consider using a staging platform when updating your website:
- You can make significant changes to your content without worrying about potentially breaking your live site.
- It enables you to try out different WordPress plugins and themes and choose the ones that work best for your website.
- You can redesign your pages at your leisure, then publish them all at once when you’re ready.
- It helps you avoid running into errors or issues that could affect your site’s User Experience (UX) and conversions.
As you can see, a staging site offers a safe and controlled environment where you can work on web design and development projects. It also ensures that your active site continues to run smoothly. When you’re done with the updates, you can make this new website version available to the public.
Some web hosts offer a staging environment with their WordPress hosting plans. In some cases, it comes with a one-click push feature. This setting enables you to migrate your staging site to the live site with a simple click.
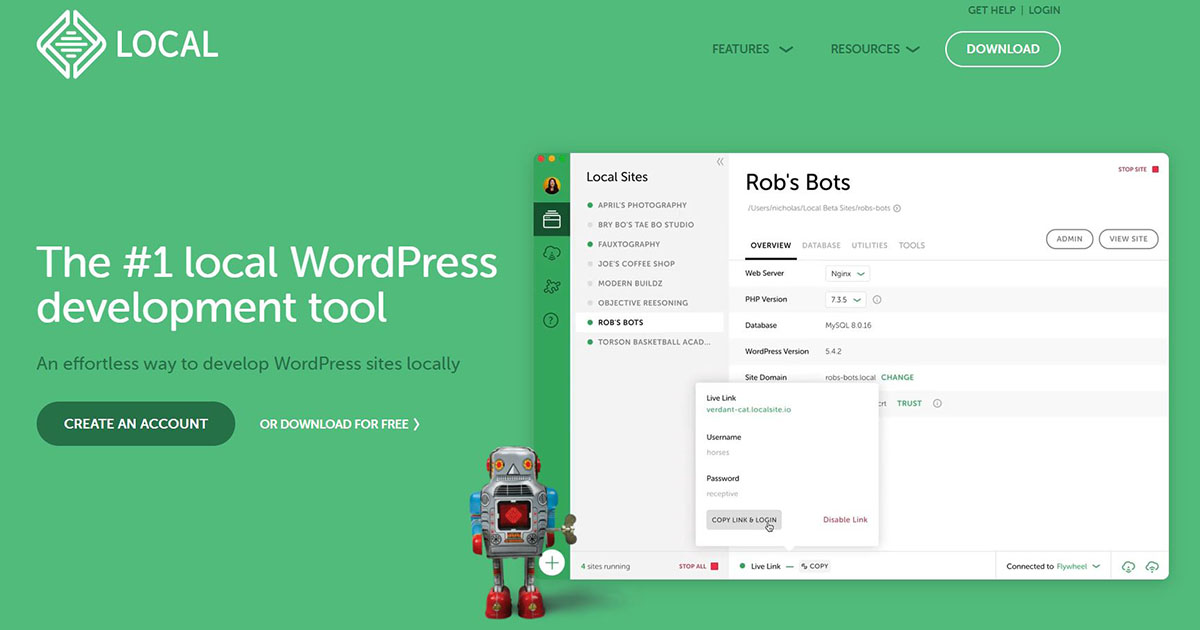
However, you may be using a third-party staging service, such as WP Staging or Local by Flywheel:
In this case, migrating your WordPress staging site may require a bit more work. However, the process is still fairly straightforward. Let’s take a look at how it works.
Migrating your WordPress staging site: How to push your changes to the live site (in 4 steps)
The simplest way to move your staging site to the live site is by using a WordPress migration plugin. While there are several options available, we’ll be using All-in-One WP Migration for this tutorial:
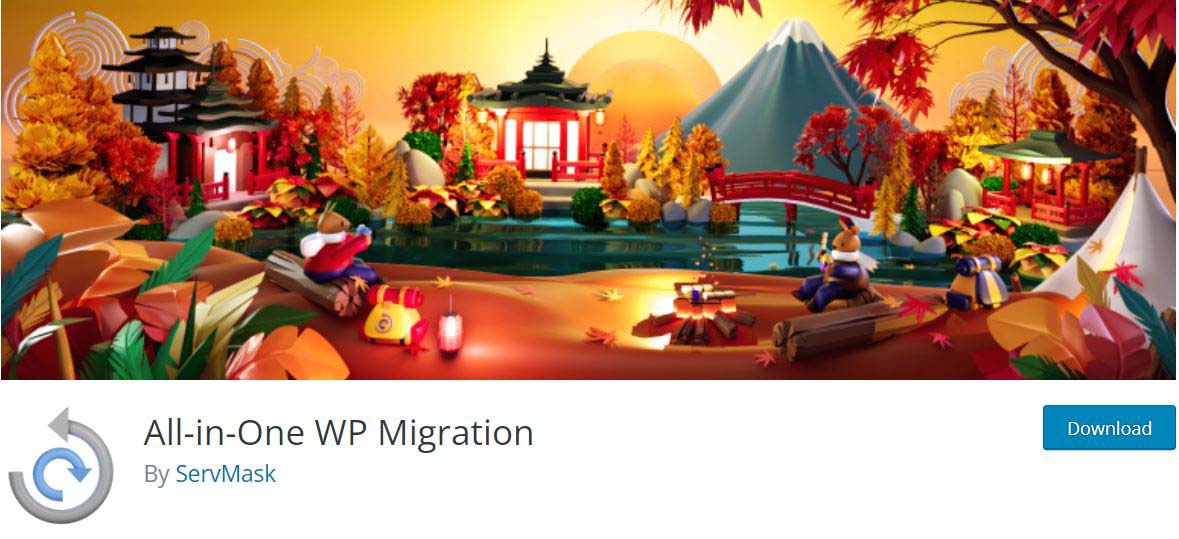
This powerful plugin enables you to copy, back up, and migrate your site content with just a few clicks. It’s also free!
Before you proceed, you may want to perform a backup of your live site and your staging website. This way, if something goes wrong during the migration process, or if you decide to revert to your old content, you can simply restore the previous version of your site.
It’s important to note that the method covered in this post is best suited for websites that rely on owner-generated content. This is content produced by the users and moderators of your site, such as blog posts.
Suppose your website contains a lot of User-Generated Content (UGC), such as comments or shopping orders. In that case, this migration method may not be ideal for you. If any user content is submitted through your live site after creating your staging website, it may be overwritten once you push your changes live.
In that scenario, you may have to migrate your files manually with a File Transfer Protocol (FTP) client. It can be a cumbersome process, so you might want to consider using a managed WordPress service instead.
Step 1: Install and activate All-in-One WP Migration
Let’s start by installing and activating the migration plugin. You’ll need to do this on both the staging site and the live one.
Open your staging site and navigate to Plugins > Add New in your WordPress dashboard. Then, search for “All-in-One WP Migration”:
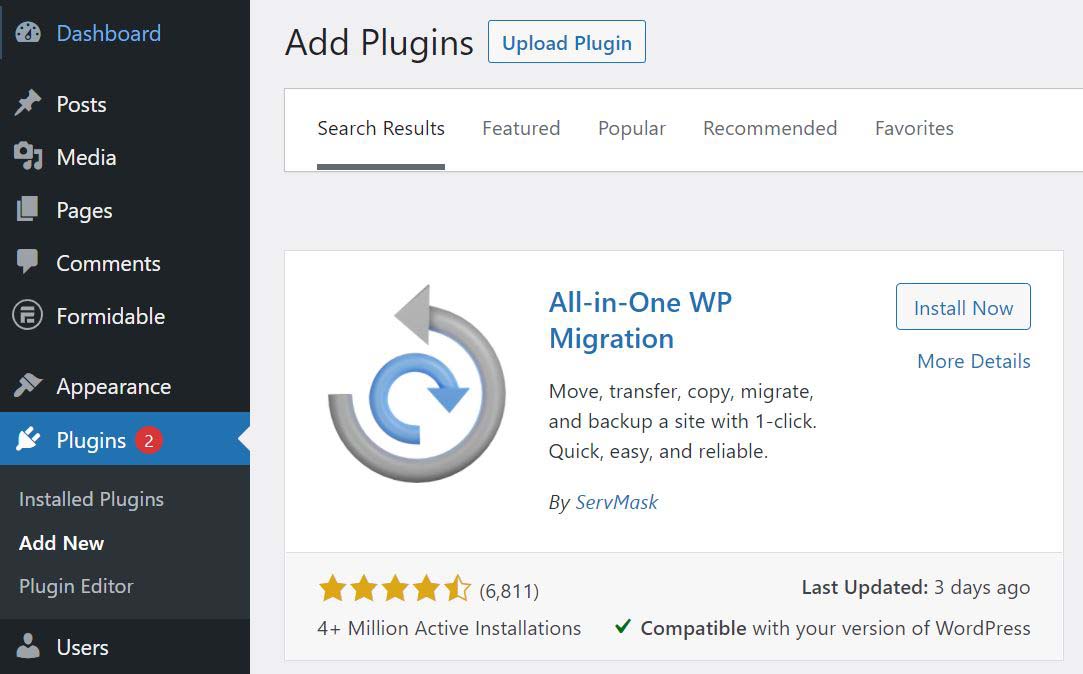
Next, click on Install Now, followed by Activate. Once the plugin is up and running, you can move on to the next step. However, remember that you’ll also need to add this plugin to your live site.
Step 2: Export the content on your staging site
The next step is to make a copy of your staging site. To do this, navigate to All-in-One WP Migration > Export in your dashboard:
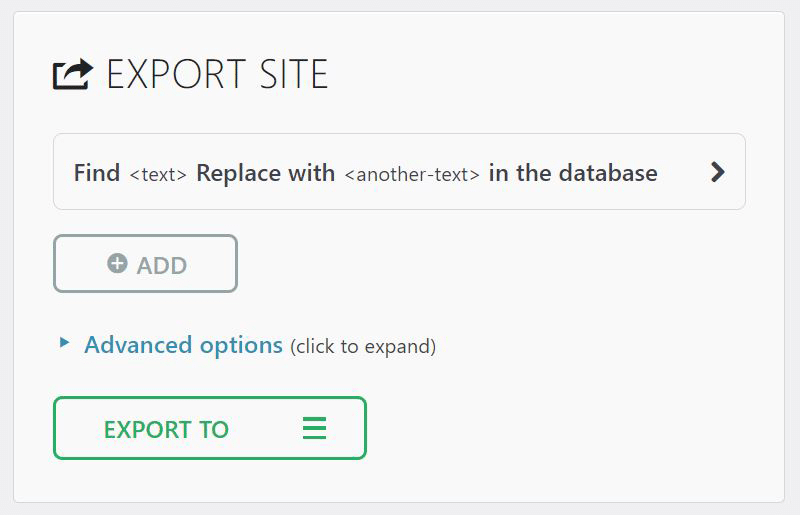
Before you proceed with exporting your staging site, you may want to configure a few settings. If you click on Advanced options, you’ll get a list of content that you can exclude from the process:
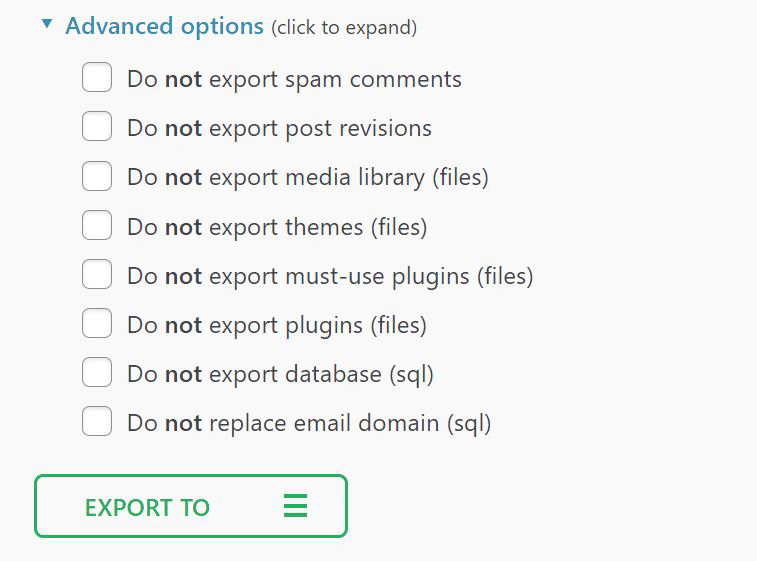
For instance, you may choose not to migrate the themes or plugins on your staging site to the live version. If this copy of your website contains content that has since been deleted from your live site (such as spam comments), it may also be worthwhile to exclude it from the export. Then, you won’t have to remove it again once your changes go live.
When you’re ready, click on the EXPORT TO button. Doing this will give you several location options for your exported content:
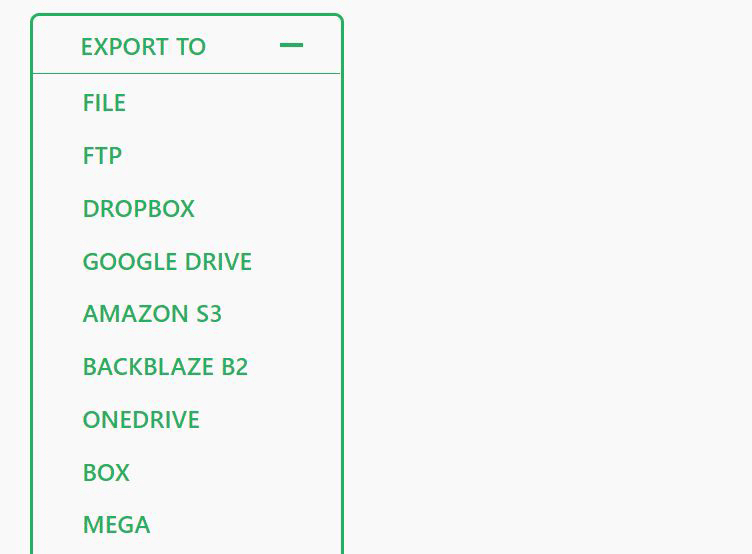
For instance, you may want to make a secure backup of your content with a cloud storage service, such as OneDrive or Amazon S3. For this tutorial, we recommend selecting the File option. This will download a copy of your staging site to your computer.
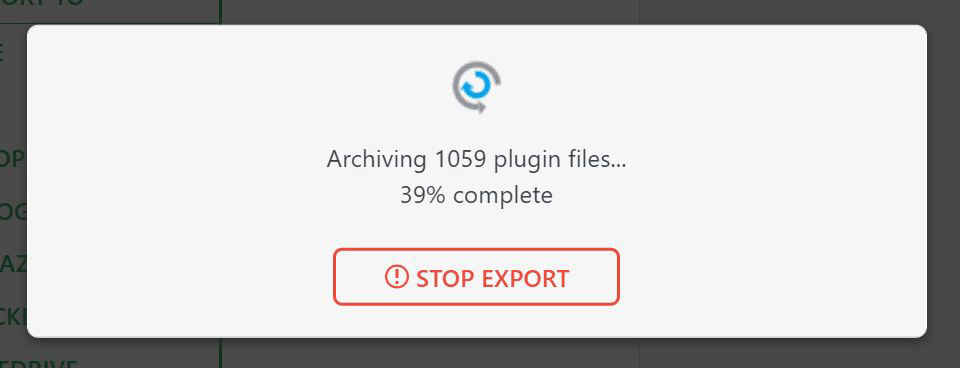
The plugin will now export your content. The process may take a while, depending on the size of your site:
Once it’s done, click on the green button in the pop-up window. A .wpress file will download to your computer:
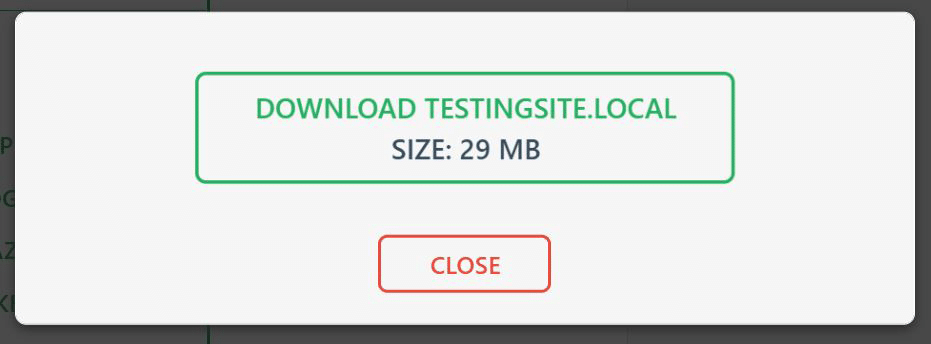
Once that’s done, you can go ahead and close the pop-up window. That’s it! Your staging site is now ready to go live.
Step 3: Import the new content into your live site
Next, we’ll be importing the content of your staging site to your live website. This step will make your changes viewable to your users.
Start by heading to the WordPress dashboard of your live site. If you forgot to install the migration plugin earlier, you should do this now. This is also the right time to ensure that you have a recent backup of your live site.
When you’re ready, navigate to All-in-One WP Migration > Import:
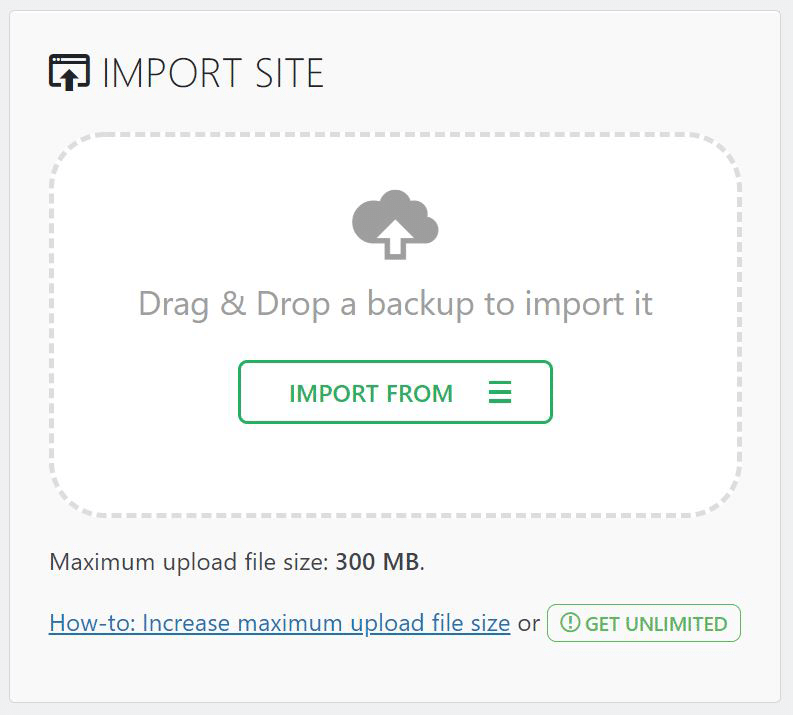
Note that there is an upload file size limit of 300 MB. If you have a large site, you may need to upgrade to the plugin’s premium version.
Next, click on the IMPORT FROM button and choose FILE from the drop-down menu. Then, locate and select the .wpress file you downloaded earlier.
A warning message will appear, reminding you that the import process will overwrite the content on your live website:
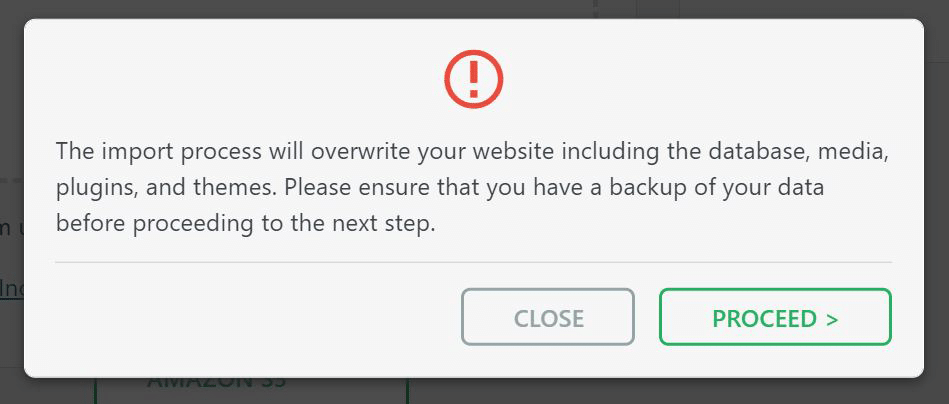
If you’ve already backed up your live site, you can go ahead and click on Proceed. The plugin will now initiate the import process. This may take a while to complete, depending on the size of your file.
Once the import is ready, you’ll see the following message:
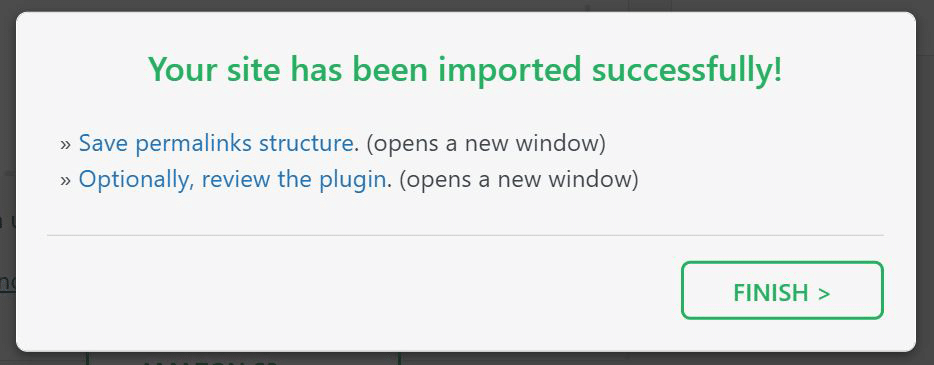
The plugin will ask you to save your permalinks structure by clicking on the suggested link. Alternatively, you can click on Finish to close the window, then head to Settings > Permalinks. Here, all you have to do is select the Save Changes button at the bottom of the page.
That’s it – the migration process is now complete. However, there’s one last thing you’ll need to do.
Step 4: Test your new website
As you can see, All-in-One Migration WP makes the WordPress staging site migration process simple and safe. However, you might want to test your live website to ensure that everything is working as it should.
For instance, you may want to check that any new plugins and tools you’ve imported from the staging site are working correctly. If you’ve redesigned some pages, we also recommend that you view them on different devices. Doing this will help ensure that your new site is fully responsive and mobile-friendly.
Meanwhile, you should consider if you’ve made any changes to essential elements such as buttons and menus. If so, it may be a good idea to test them to make sure that your content is accessible.
Conclusion
A staging site enables you to test new features and work on web design projects without affecting the performance of your active website. Several hosting providers offer this service. Alternatively, you could also use popular tools such as WP Staging and Local by Flywheel. Once you’re happy with your changes, you can push them to your live site.
In this post, we showed you how to migrate your WordPress staging site in four simple steps:
- Install and activate the All-in-One WP Migration plugin on your staging site and the live website.
- Export the content on your staging site by downloading it to your computer as a .wpress file.
- Import the .wpress file to your live site and save your permalink settings.
- Test your new live site to make sure everything is working as it should.
We recommend hiring a WordPress developer to create and migrate your staging site with minimal stress. At FreshySites, we offer professional web design services to help you build the website of your dreams. We can also handle the migration of your WordPress staging site. Contact us for a quote today, or get in touch with one of our WordPress experts for more information!


)