
Creating an accessible website requires more work than you might think. You can have a site that’s easy to navigate and to interact with. However, if you’re not aware of what American With Disabilities Act (ADA) compliance is or what its requirements are, you may be unknowingly infringing on them.
The goal behind ADA is to provide a set of guidelines that make websites “work” even for users with disabilities. Ensuring that your WordPress website meets ADA compliance isn’t just about protecting yourself legally, but also about providing a better experience for your users.
In this article, we’re going to talk about what ADA is and how it applies to websites. We’ll also go over several key guidelines to help you ensure that your WordPress website is accessible. Let’s get started!
What does ADA compliance mean?
The ADA is the standard in the US when it comes to ensuring accessibility for disabled individuals. From a legal perspective, the ADA is a broad piece of legislation that applies to workplaces, government agencies, transportation, and (arguably) websites:
We use the word “arguably” because ADA regulations don’t cover websites per se. However, there’s a long history of courts upholding that ADA regulations do apply to websites. It’s relatively common for websites to get sued for failing to meet accessibility standards.
In 2020, there were approximately 3,500 lawsuits filed against non-accessible websites. According to regulations, first-time ADA compliance violations can result in fines of up to $55,000. In the case of additional violations, fines can rise up to $110,000 per instance.
If you want your website to be ADA compliant, it needs to be accessible for users with disabilities. There are several guidelines you can follow to ensure that it is. However, our recommendation is to focus on the Web Content Accessibility Guidelines (WCAG) which offers the most comprehensive set of rules or suggestions for making websites more accessible.
Does the ADA apply to my website?
As we mentioned before, the ADA is an American law. If you operate a website for a US-based audience, it’s in your best interest to ensure that it’s as accessible as possible. This also applies if your website is hosted internationally.
By and large, if your website operates as a business and some of your clients are from the US, you may be held liable under ADA regulations. There are plenty of other countries with strong accessibility regulations, some of which do explicitly cover websites. If you’re not located in the US, it’s definitely a smart idea to research local disability compliance guidelines that apply to websites to ensure that you’re meeting them.
8 steps to ADA compliance for WordPress websites
Next, we’ll walk you through the basic guidelines you need to meet for ADA compliance. Although we’re going to discuss some steps that are WordPress-centric, the advice shared in this section also applies to other types of websites.
Keep in mind this isn’t a comprehensive list of every possible step, as the WCAG guidelines are very extensive.
Step 1: Add alt text to images
The purpose of alt text is to provide screen readers with information about what each image contains. Moreover, it provides context for search engines, which means it can help your pages rank in search results.
Adding alt text in WordPress is remarkably simple. All you have to do is click on an image while using the Block Editor and open the Block settings tab, which includes an Alt text field:
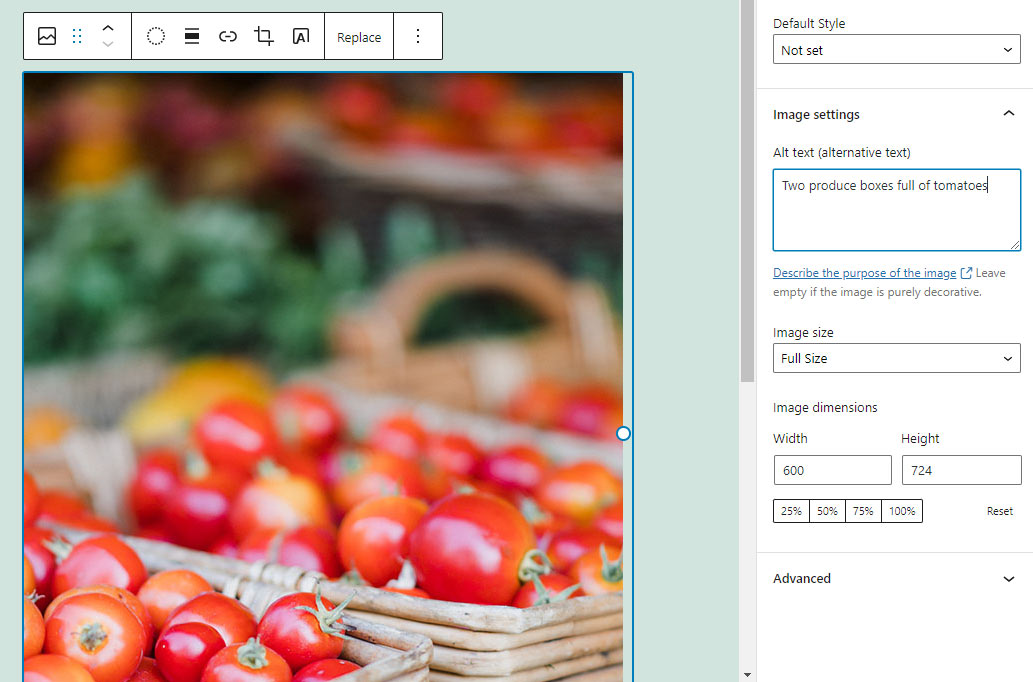
To make things easier, we recommend adding alt text to each image as soon as you upload it. It’s important to be as descriptive as possible, as this will help users with screen readers to better understand what images you’re using.
Step 2: Use headings throughout your content
Headings fulfill several purposes in websites. They make it easier for search engines to categorize your content and they help users understand what each section within a page covers. More importantly, users are able to navigate within each page using headers thanks to screen readers.
With WordPress, you can add headers anywhere on a page using the Heading block, which also enables you to select what type of subheading to use:
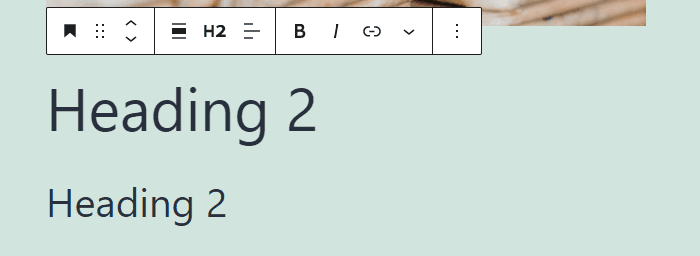
When working on a page or a blog post, you may want to add headings regularly – preferably whenever you change topics. Additionally, headings should follow some sort of logic to make it easier for users with screen readers to navigate your content.
Step 3: Test for empty links
For a link to be accessible, it needs to include text. An empty link can confuse users who use screen readers since they won’t be able to understand the context.
Ideally, you’ll review every page and post that you publish to make sure that it doesn’t include any broken or empty links. External links are also very important from a Search Engine Optimization (SEO) perspective, so it’s a good idea to check them regularly.
Step 4: Add captions and transcripts for video and audio content
Adding transcripts and captions for your media content is one of the most difficult changes to implement when it comes to accessibility. Simply put, captioning a video or transcribing audio is very labor-intensive, which means it can be costly.
A great solution for this problem is to use platforms that provide automatic captions and transcripts for your media content, such as YouTube:
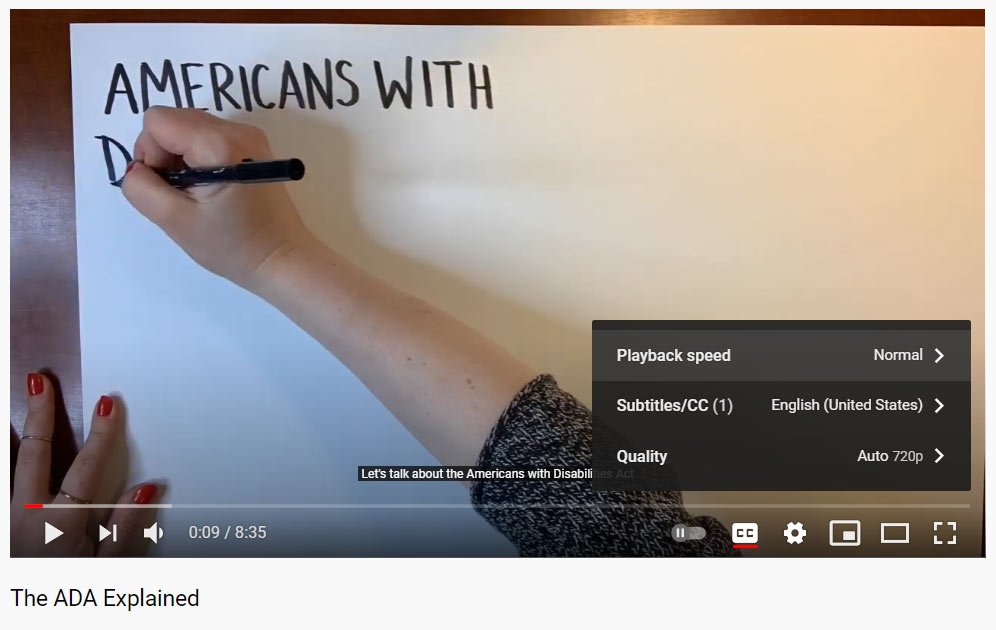
Although YouTube captions aren’t always 100 percent accurate, they definitely help make your videos more accessible. As an added bonus, hosting video and audio files on a third-party platform lessens the strain on your servers and it enables users to play the files with shorter loading times.
Step 5: Add labels to forms and identify invalid inputs
Using online forms can be particularly challenging for users with disabilities. Labels are simple tags that you can add to forms to make sure that every user understands what each field is for:
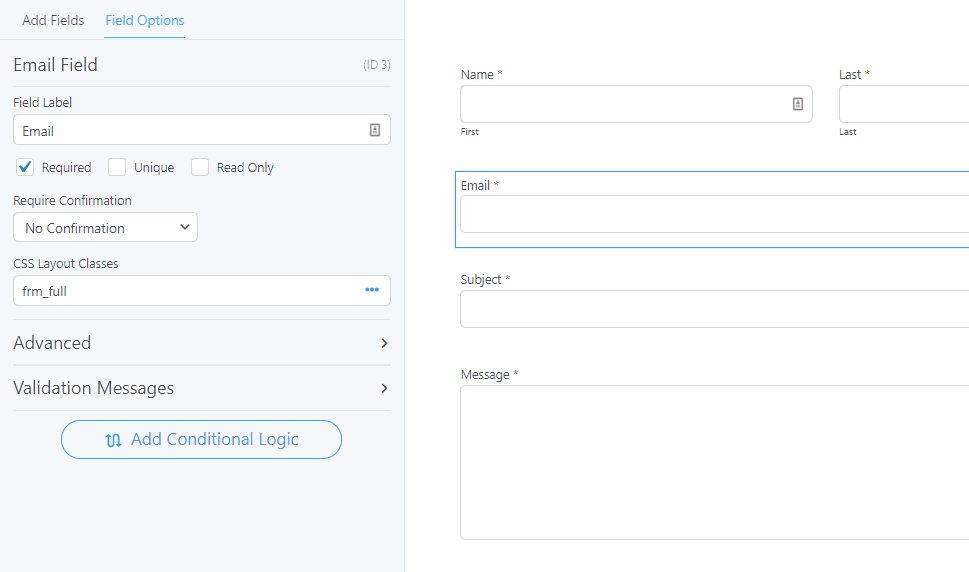
If you’re using a WordPress forms plugin, it should include inputs to help you add labels for each field that you include. On top of that, you also want to add validation and error messages:
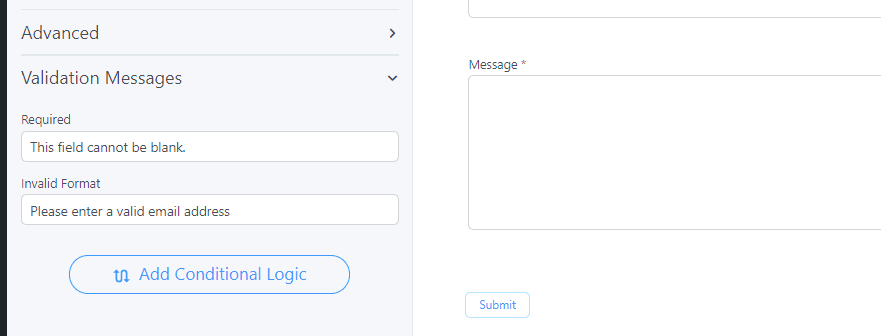
Invalid input error messages are useful in every situation. Even if a visitor isn’t using a screen reader, these errors let them know how to fill each field properly so they can submit them. For users with screen readers, these messages are critical as they help users know if their submissions went through.
Step 6: Use a WordPress theme that’s keyboard accessible
For a website to be “accessible”, users need to be able to navigate it using their keyboard, as they might not be able to use a mouse. Modern browsers enable you to navigate websites using the keyboard. However, how well your WordPress website responds to keyboard navigation will largely depend on the theme you use.
Figuring out whether a WordPress theme is accessible can be a challenge. However, the WordPress.org theme repository enables you to search through options that meet their own accessibility criteria:
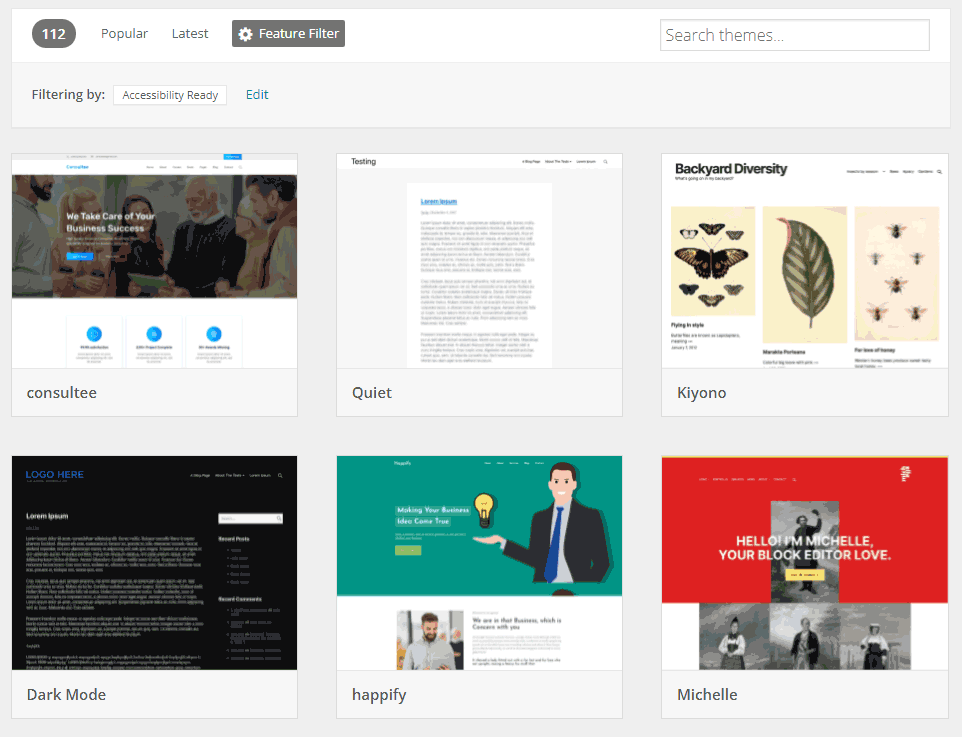
The WordPress Theme Review Handbook includes an outline of its accessibility criteria, which includes keyboard navigation. These criteria are very extensive, so if you use a theme that passes their “tests”, you’re off to a great start.
Step 7: Use an online web accessibility evaluation tool
There are a lot of online tools that you can use to check your site for accessibility errors. Our favorite is called WAVE, which stands for “Web Accessibility Evaluation Tool”.
If you visit the WAVE homepage, you’ll see a simple prompt to enter your site’s URL:
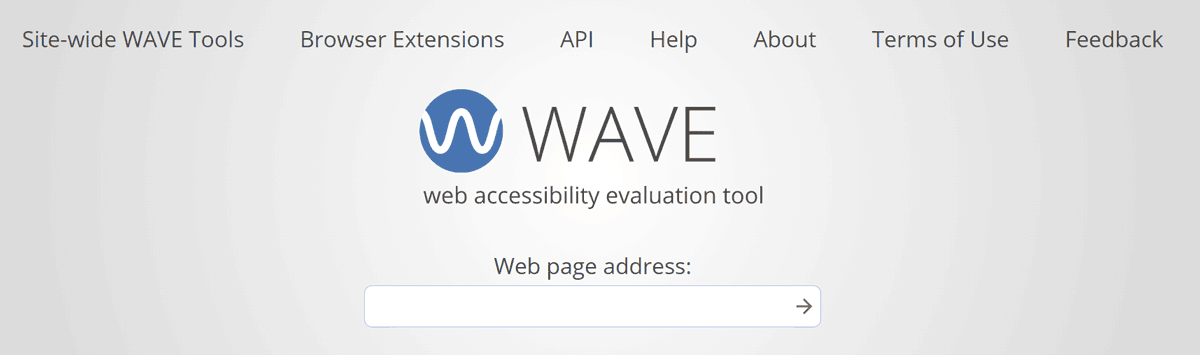
WAVE will then return a full report that you can navigate, including sections for critical errors, issues with color contrast, accessibility alerts, and more:

Clicking on each error will show you that section of the page. More importantly, each error also tells you what causes it, so you can go ahead and fix the problem.
Spending some time using WAVE to check all of the top-level pages on your WordPress website will pay off big time when it comes to increasing accessibility. However, we recommend doing this after going through all of the previous steps. That way, by the time you generate a report, you shouldn’t have all that many errors left to fix.
Step 8: Use a WordPress accessibility plugin
Although using third-party web accessibility evaluation tools is a great start, we also recommend installing a WordPress plugin that does a similar job. Our favorite tool for ADA compliance evaluation is called WP ADA Compliance Check Basic.
With this plugin, you’ll be able to run site-wide scans on demand that return a list of compliance errors and suggestions on how to fix them:
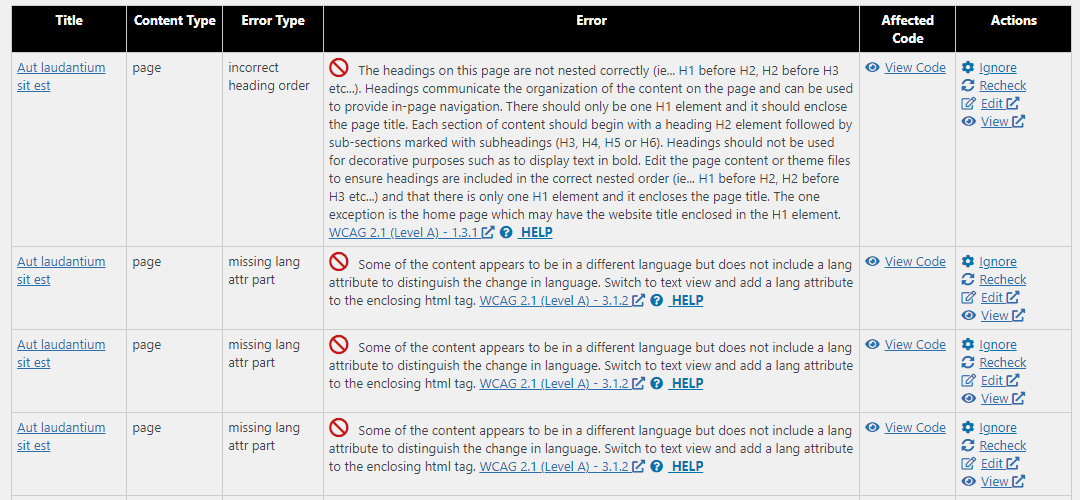
For instance, it highlights accessibility errors related to headings, missing attributes, form labels, titles, missing alt text in images, and more. By combining the free plugin with a tool such as WAVE, you can generate full accessibility reports for your entire website whenever you want. Ideally, you should check your website often for accessibility errors, particularly if you add new content on a regular basis.
If your website is mostly static, you may not need to perform accessibility evaluations all that often. Once you ensure that your website is up-to-code (so to speak), all you have to worry about is the occasional maintenance evaluation.
Conclusion
Ensuring that your WordPress website is accessible and ADA compliant can be a lot of work. Understanding WCAG guidelines is a great place to start. Fortunately, WordPress makes it easy to create highly accessible websites due to its ease of use, as well as its broad library of plugins and themes.
If you want to find out how accessible your website is, we recommend starting by using a free evaluation tool such as WAVE. We also recommend installing the WP ADA Compliance Check Basic plugin, which will provide you with a full overview of accessibility issues on your site.
Instead of doing all the hard work yourself, you can rely on WordPress professionals with experience making websites more accessible and ADA compliant. Freshy can help your website become more accessible and meet certain standards, so that you provide a better experience for your users.

)