
Figuring out what Content Management System (CMS) to use for your website can be challenging, especially as there are many options available. If you end up choosing a CMS that doesn’t offer all of the features you need, you might think that you’re locked in.
Fortunately, it’s possible to convert to WordPress if you know what steps to take. The easiest way to do this is to migrate your site’s content to the CMS. That way, you can start afresh with WordPress and rebuild your website in any way that you see fit, without losing your content.
In this article, we’ll take a closer look at WordPress migrations and how they work. Then we’ll break down the process into four simple steps that will work for almost any platform. Let’s get to it!
What a WordPress migration is (and how it works)
Let’s say that you set up a simple online store using Shopify. It’s not a bad platform to use, but it doesn’t offer as much freedom as WordPress and WooCommerce. With the latter, you can set up an online store on any hosting platform that you want and customize it to your exact needs.
The problem is, your store is already up and running on a different platform. Rebuilding it using WordPress and WooCommerce works, but it’s a time-consuming process. Your best bet in that scenario is to convert that Shopify store to WordPress.
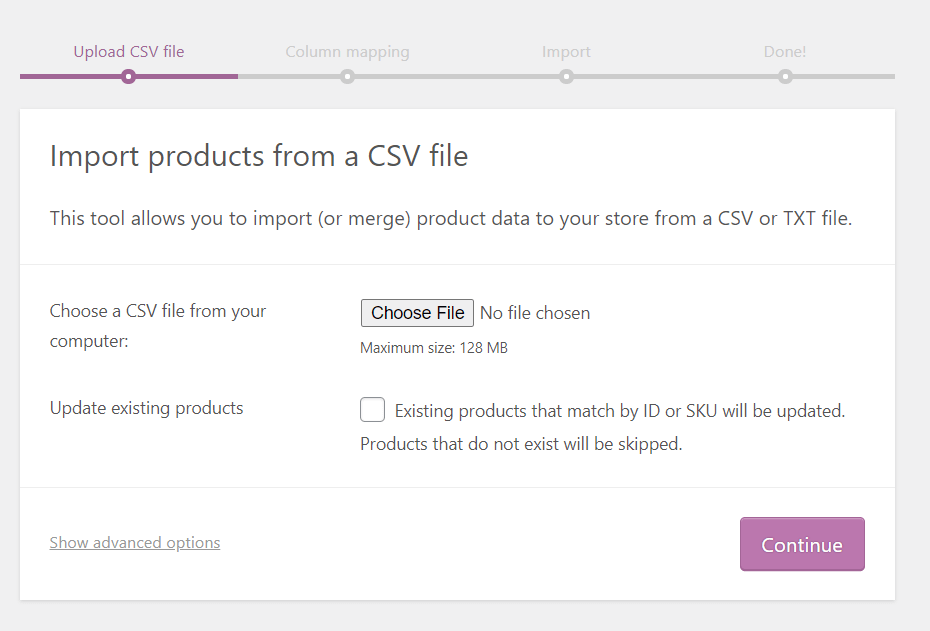
We say convert, but this process is also known as a WordPress migration. That’s because it works by migrating data from one platform into WordPress. In this case, that would involve exporting your Shopify product list and using WooCommerce to import it:
If that sounds complicated, don’t worry. WordPress offers a broad range of built-in tools that can help you import data from other popular platforms. Moreover, there’s a broad range of WordPress migration plugins that can make the process easier.
How to convert any website to WordPress (in 4 easy steps)
The process of converting or migrating a website to WordPress will vary, depending on what CMS you’re currently using. However, the fundamentals of converting most sites to WordPress are remarkably similar. Let’s take a look at how to successfully carry out a WordPress migration.
Step 1: Export your site’s content
Content is at the heart of most websites. To convert a site to WordPress, you’ll need to start by making a copy of all the data and files that it contains. This may include:
- Blog posts
- The content of your pages
- Images and videos
- Products (if you’re running an online store)
- Author data (as well as that of other key users)
- The website’s taxonomy, such as categories and tags
Ideally, the platform or CMS that you’re using will provide you with the option to export your website’s data in a format that is easy to read. In fact, WordPress itself offers a feature that lets you export your site’s data.
However, some platforms won’t let you export all of your content. Therefore, you’ll need to pay attention to what data the exporter tool supports. If it misses anything important, you might need to save that information manually so you can later upload it to your new WordPress site.
At the end of this step, you should have an export file that contains all of your website’s data and its media. It’s important that you save that file, as you’ll need it for the rest of this tutorial.
Note that WordPress can import data from some platforms using their API, which means that you might not need an export file. Those platforms include LiveJournal and Tumblr.
Step 2: Set up a new WordPress installation
Migrating and converting a website to WordPress are two different things. If you convert a site to WordPress, it means that you’re taking an existing site, exporting its content, deleting it, and then setting up a new WordPress website in its stead.
In our experience, it’s far better not to delete the original website, as you run the risk of losing important information. If your web host enables you to create more than one website, we recommend that you set up a new WordPress installation separate from the original site.
If you’re using a self-hosted platform for your original website, then you’ll need to look for a new web hosting provider before moving on. That means:
- Finding a WordPress-friendly host
- Choosing a hosting plan that matches your needs
- Signing up for an account and setting up WordPress
Installing WordPress is remarkably simple. Most web hosts offer a simplified installation process for WordPress due to its popularity. Some will even go as far as setting up the CMS for you. Once your new WordPress website is up, it’s time to fill it with your existing content.
Step 3: Import your website’s content into WordPress
As we mentioned earlier, WordPress makes it easy to import data from other platforms to your website. The CMS comes with a suite of built-in import tools for a multitude of platforms. To access them, go to the WordPress dashboard and navigate to Tools > Import:
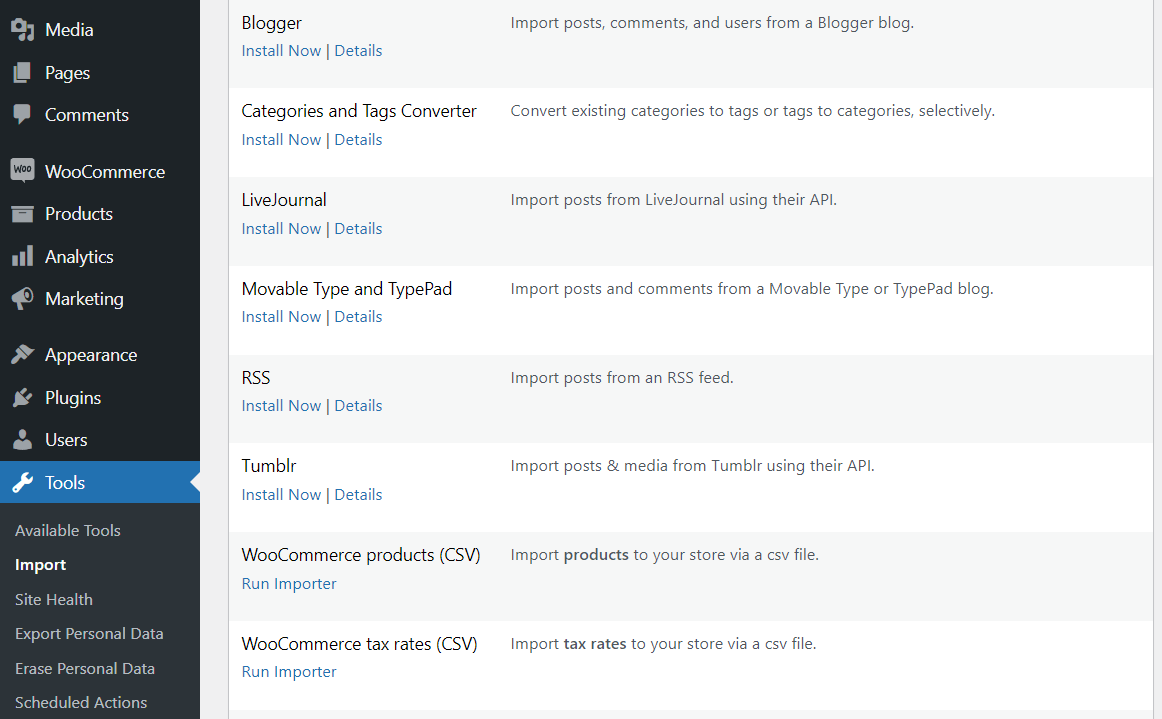
In the above screenshot, you can see the option to import data from different platforms, including LiveJournal, Blogger, and Tumblr. However, you can also easily migrate data from other popular CMSs.
If you check out our archives, you’ll find full guides on migrating content from a variety of platforms to WordPress, including:
- Moving your website from Squarespace to WordPress
- Switching from Weebly to WordPress
- Migrating your site from Joomla! to WordPress
Usually, if you don’t see the right option in the Import screen, you might have to look for a plugin that adds support for the platform that your original site is hosted on. In any case, once you identify the importer that you want to use, click on Run Importer.
The importer tool works the same on most platforms. For example, if you choose to import data from Blogger, it’ll ask you to upload an XML file. That’s the export file that you saved during step one:

The import process itself is very hands-off. Once you select what file to use and click on Upload file and import, WordPress will take care of the rest.
During that process, WordPress might ask you which users you want to assign the imported content to. For example, if you’re importing a library of blog posts, WordPress can create new users with the same names as the original authors or assign that content to an existing one.
Once the importer runs its course, you’re technically done. All of your original website’s content is now in your new WordPress setup. However, you may still have a few things to do, depending on how thorough you want to be.
Step 4: Find a WordPress theme that matches your original site’s style
You’ve probably put a lot of work into ensuring that your website looks exactly the way that you want it to. When converting a site to WordPress, it may end up looking entirely different. To fix that, you’ll want to use a WordPress theme.
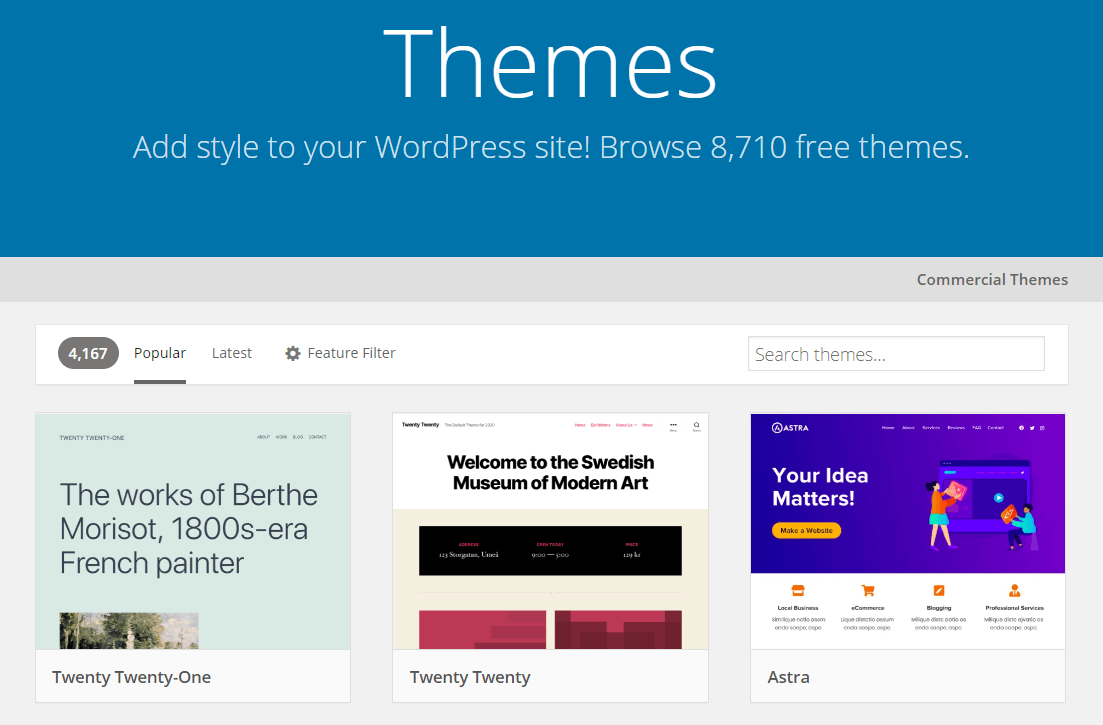
WordPress themes come in all shapes and sizes. There are thousands of options to choose from, both free and paid. If you want to look at some free themes to start with, you can check out the official WordPress repository:
You can opt to find a theme that fits your original website’s style. Alternatively, you can start afresh and choose something entirely new. One great thing about WordPress themes is that a lot of them don’t just include templates – they also come with advanced features to help you set up your website.
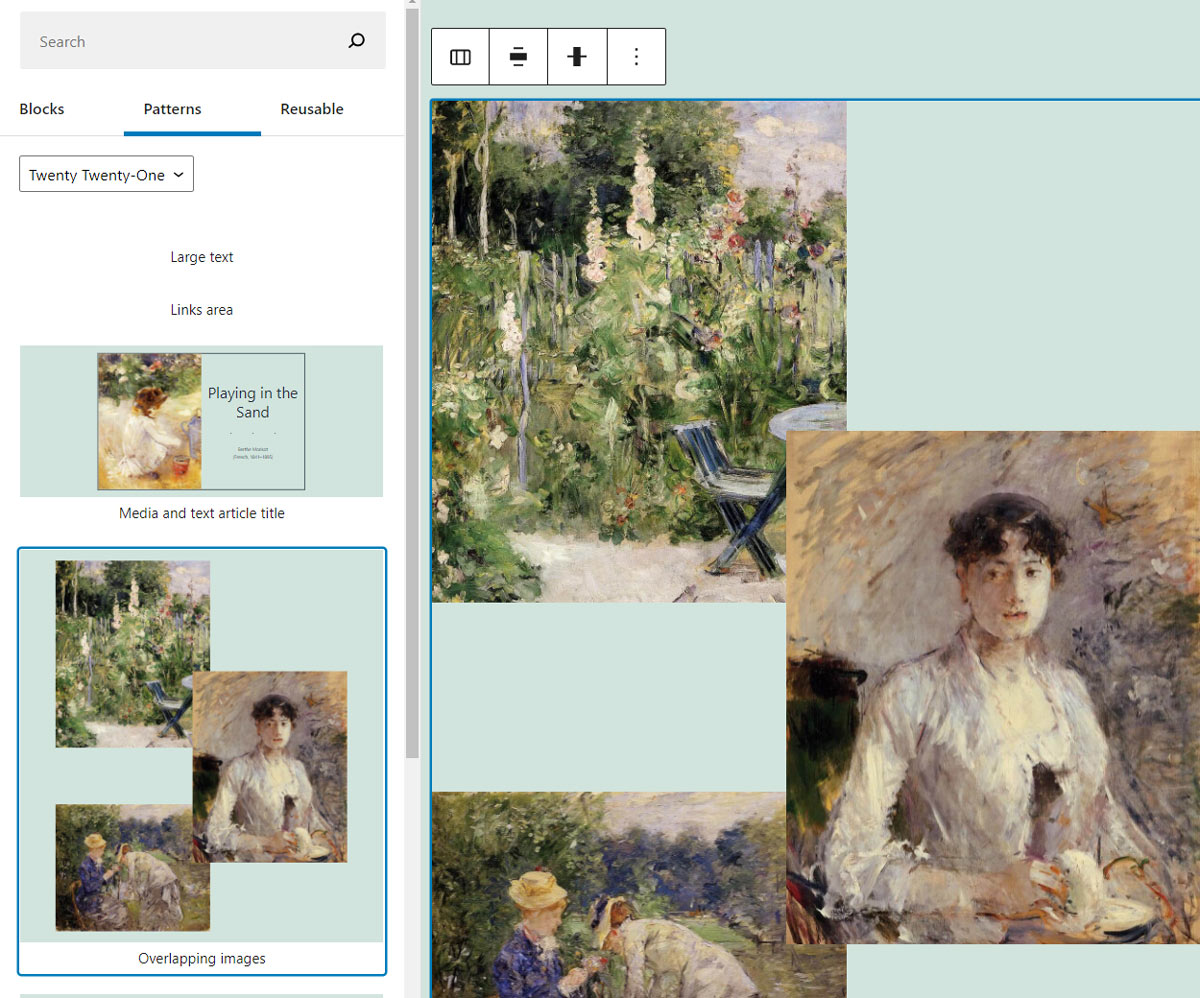
Once you find the perfect theme for your WordPress site, all that’s left to do is to customize it. WordPress enables you to do this in two ways. The first is by using the Block Editor to build posts and pages:
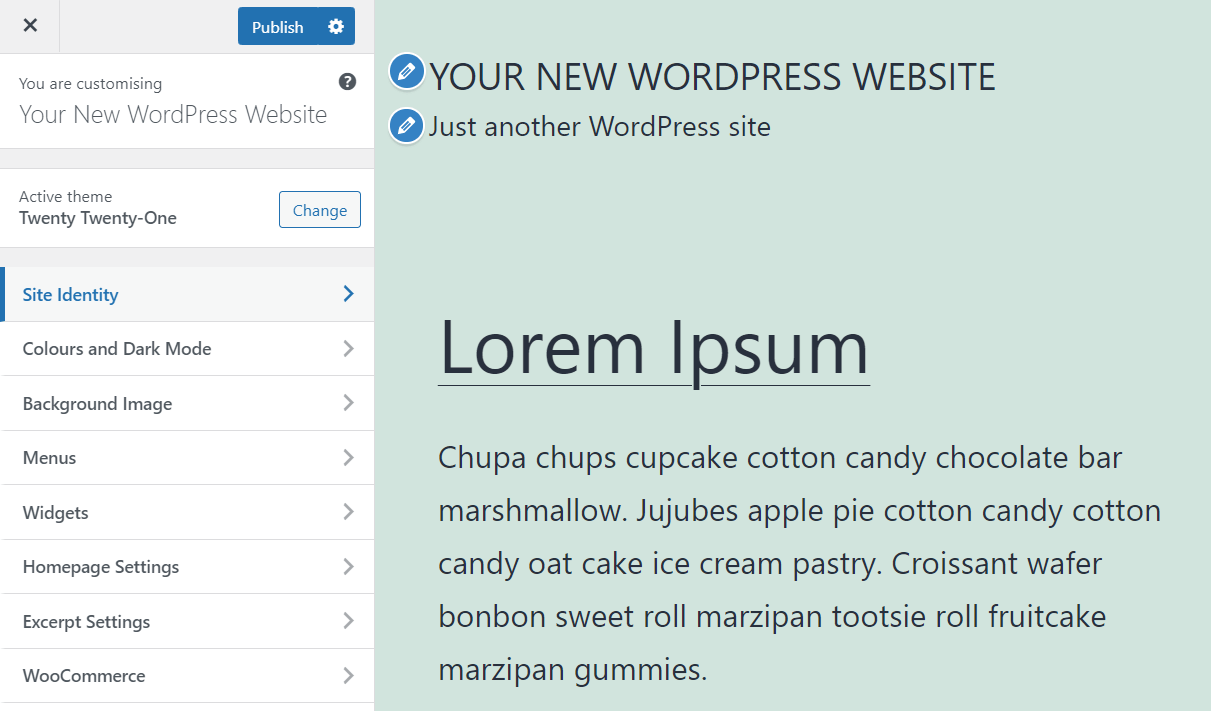
You can also access theme-specific customization options from the dashboard by going to Appearance > Customize. From this section, you’ll be able to modify settings such as theme colors, menu designs, backgrounds, and more:
This part of the migration process might take a while, depending on how much tinkering you want to do. Although your content is ready, you still want your new WordPress website to look as good as possible and to offer all of the features that your visitors might need. Having WordPress experts available to lend a hand here can save you a lot of time.
Alternatively, you may want to partner with an experienced WordPress agency to ensure that you migrate all of your content properly. At FreshSites, we offer professional WordPress conversion services to help you transfer all of your content to this popular CMS. We’ll also work with you to redesign your site and make sure that it meets your individual needs.
Conclusion
Converting a website to WordPress can be easier than you think. The steps involved in a successful WordPress migration are almost always the same, regardless of what platforms you’re working with.
Although importing content into WordPress is simple, there’s still plenty of work to do before your new website is ready for prime time. At FreshySites, we can help you get your new WordPress site up and running in no time. We can also design the entire site for you and take care of regular maintenance tasks, such as backups and updates.
Do you have any questions about converting your website to WordPress? Let’s talk!


)