If you’re looking to boost your conversions, landing pages can be a formidable tool. However, not all of us have in-depth developer knowledge. Figuring out how to create even a simple landing page on your own can be an intimidating prospect.
Fortunately, the right tool can make this process a lot easier. By leveraging the Divi page builder’s impressive features, you can easily create an effective landing page.
In this article, we’ll look at a few reasons you might want to use landing pages. Then, we’ll share some best practices for creating high-converting pages. Finally, we’ll walk you through four easy steps to create one of your own landing page. Let’s get right to it!
Why you should consider a landing page for your site
Let’s start with the basics: a landing page is not a homepage. Homepages are essential for every type of business, from small blogs to huge law firms. They generally welcome users to your site. By contrast, landing pages are far more specific.
A landing page is a single page on your website that is dedicated to one precise marketing effort. Typically only the most relevant and essential information is included in this page.
For example, let’s say you wanted to grow your mailing list. You could do so by creating a page that includes your marketing pitch and an area for users to enter their email addresses. That’s it – no external links, no articles, and no irrelevant content.
This concentrated approach helps increase conversions by eliminating distractions. You can use it to promote a new product, give away coupons, or even launch a new site.
Landing pages are also flexible in terms of how often you can use them. You can create several of them without watering down their efficacy. In fact, studies show that a website’s conversions can increase up to 55 percent if it uses 10 to 15 landing pages.
Fortunately, landing pages can also be fairly easy to make. Once you understand the basic elements behind them, creating one can be as simple as customizing the content to fit your goals.
Best practices for creating a high-converting landing page
Every landing page is unique to both its purpose and its brand. However, there are a few universal elements that you might want to keep in mind as you start building your own.
One of the most essential is a Call To Action (CTA). CTAs are basically instructions that you give to your audience. This can be submitting an order or signing up for newsletters. Without a specific CTA, you risk missing the point of a landing page altogether.
You’ll also need a strong but brief sales pitch. One strategy is to highlight what makes your offer unique. You could also offer a bonus for users who convert, such as a coupon or ebook. Whatever approach you choose, try to keep it concise.
Another tool that can support your landing page is social proof. This refers to positive reviews, posts, and comments about your product from real customers. Your visitors might be swayed by a stamp of approval from fellow users.
Finally, you might want to consider keeping your landing pages as simple as possible. Busy colors or even too many images can distract users from your ultimate goal. By using a minimalist design, you can help users find your offer more quickly.
These guidelines might be helpful to keep in mind as you start building landing pages. Since the Divi page builder is so user-friendly, it should be easy enough to implement them. However, if you’re ever feeling lost, don’t be afraid to reach out to the WordPress Divi theme experts for help.
How to design an impressive landing page with Divi Builder (in 4 easy steps)
Here’s how to use Divi Builder to create a stellar landing page in just four steps. Before you begin, make sure you have Divi Builder up and running on your WordPress site.
Step 1: Install the Divi Builder
Before we get started on the landing page, you’ll need to install the Divi Builder itself. This comes in a bundle with the Divi Theme, meaning you already have access to a design that’s been optimized for the plugin. Thus, you might want to take advantage of this pairing.
However, you don’t have to use the Divi Theme. Divi Builder works well with most of the best WordPress themes around. As such, if you already have a theme you love, rest assured that it’s almost certainly compatible.
As for pricing, you have two paid plans to choose from: you can either pay $89 for a year of access or $249 for lifetime access. If you’re not sure about making this investment, don’t worry – the Divi team offers a 30-day refund with no questions asked.
Once you’ve downloaded the Divi Builder, you can install and activate it. Then, you’ll need to finish the process by activating the API key. Navigating to Divi > Theme Options > Updates:
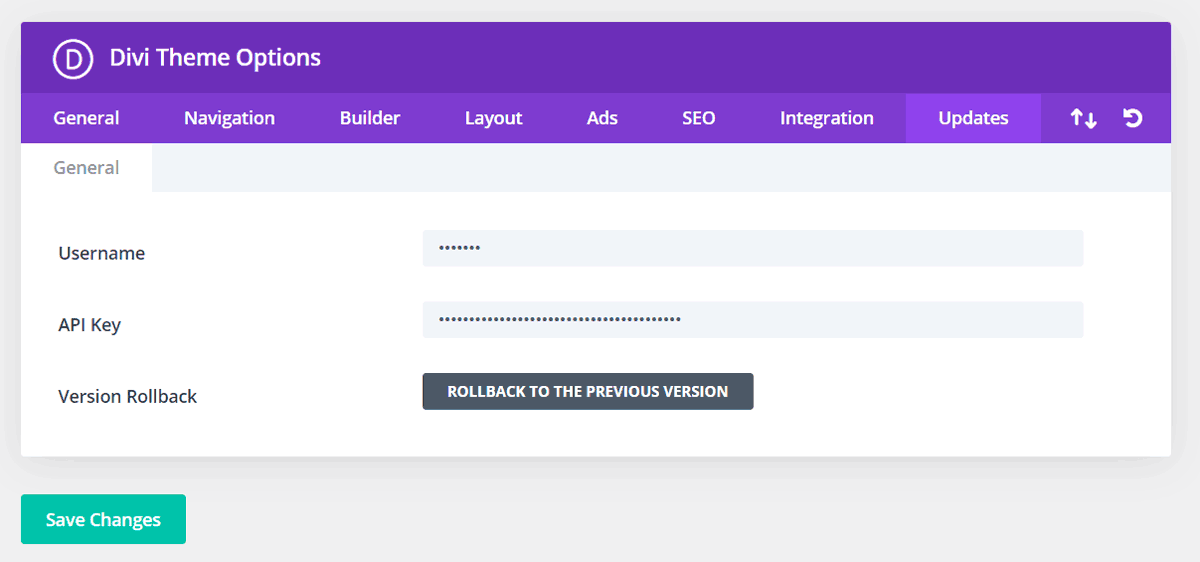
From here, enter your username and API key into their respective fields. You can find this information in your Elegant Themes members area. Finally, click on Save Changes to finish the process.
Before we move on, feel free to play around with the editor a bit. Getting familiar with the interface may help you make the most of the plugin. However, if you’re ready to jump right in with the help of our walkthrough, you can move on to the next step.
Step 2: Choose a layout pack
Now that the plugin is all set up, we can start the building process. You can begin by going to Pages > Add New > Use Divi Builder. You should then see this interface:

You have three options: building from scratch, using a layout, or cloning a page. The first option can be useful if you want to get creative with your designs.
However, we only want to make a basic landing page for now. Given that the Divi Builder has a lot of impressive templates, we’ll go with the Choose a Premade Layout for this walkthrough.
After you click on that option, you should see your premade layout packs:
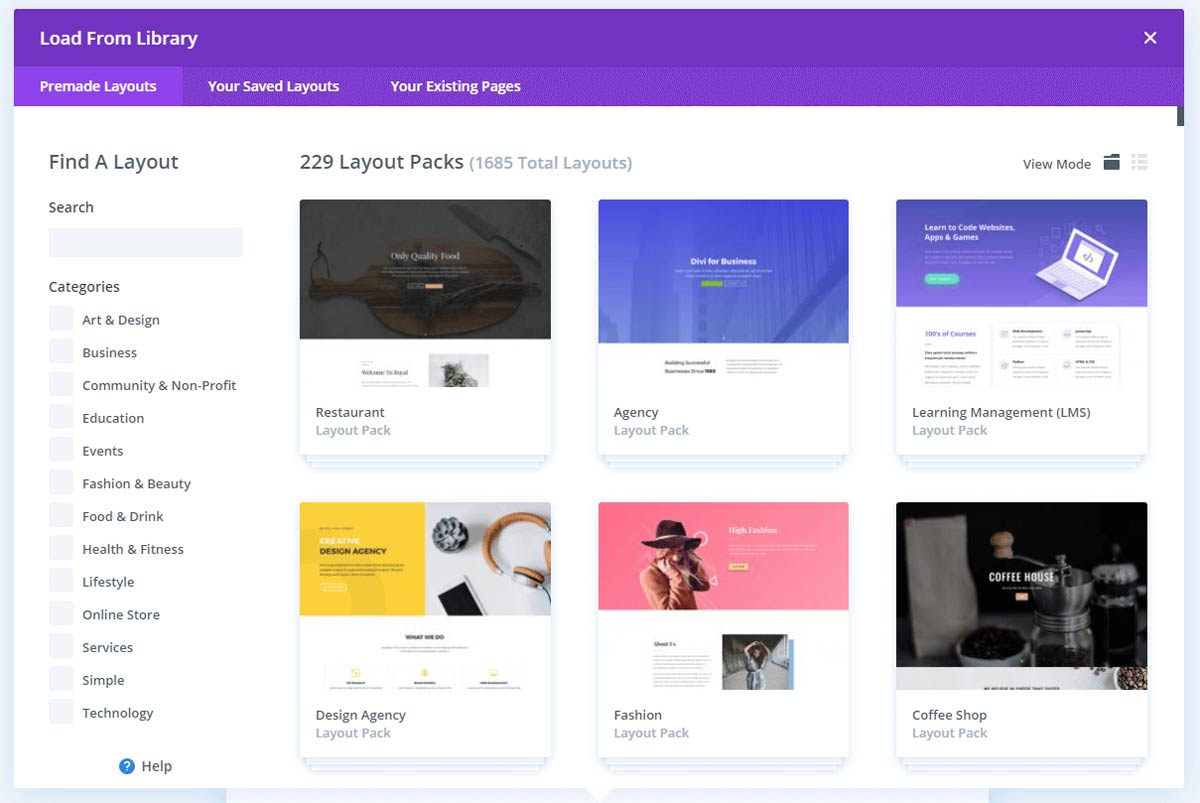
Layout packs are collections of individual layouts that share similar designs. That way, you can create an entire cohesive site without having to start from scratch. The packs also come in tons of different styles, meaning they can fit nearly any niche from restaurants to yoga studios.
Despite the fact that they’re premade, these designs don’t have to be generic. You can customize nearly every inch of them. For instance, you can add your own photos, include keywords to boost your search rankings, or even change the overall color scheme.
At this point, feel free to spend time browsing through the library. We may be focusing on landing pages right now, but you might find another design that fits the rest of your site.
Click on your layout pack of choice and find the Landing option. For example, here’s what that looks like in the Travel Agency pack:
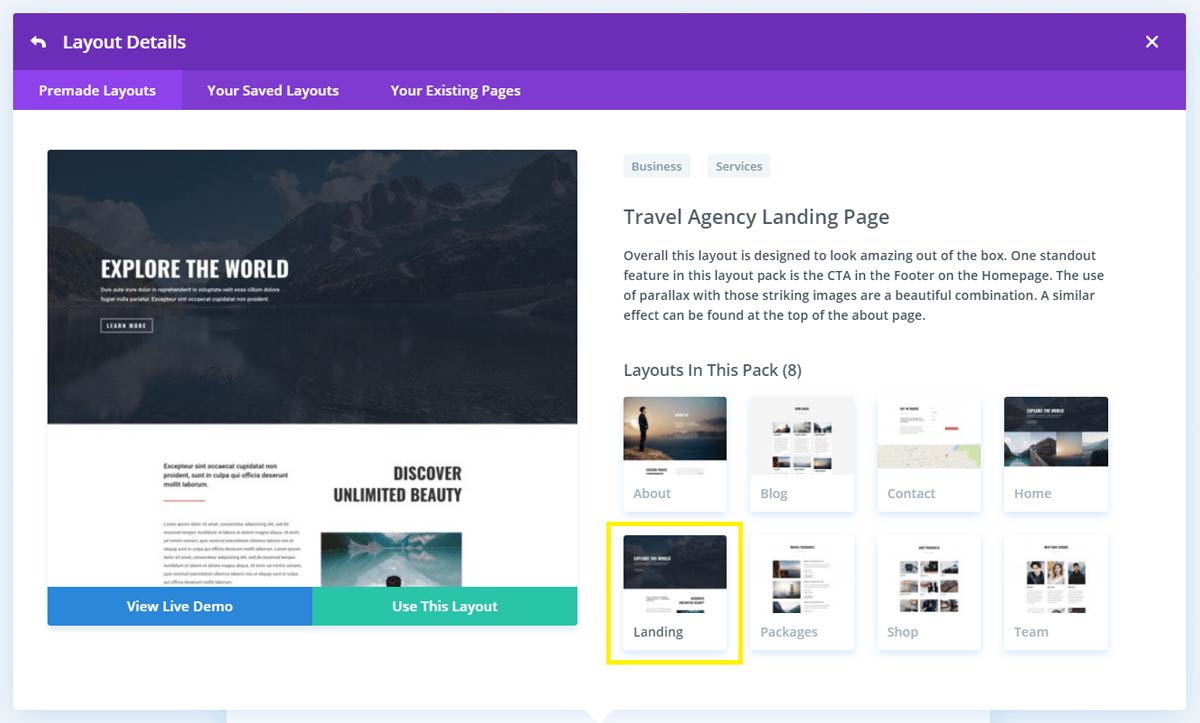
Once you find it, click on Use This Layout. Then you can start customizing it to fit your brand.
Step 3: Customize your text
After you’ve decided on your landing page layout, you should be looking at an editing interface. However, as you probably expect, the appearance will depend on the design you chose:
There are tons of useful features you can add to your landing page at this point, such as a ‘read more’ that links like a button. However, we’re going to focus on the basics for this walkthrough. You can always add more complex functions later on.
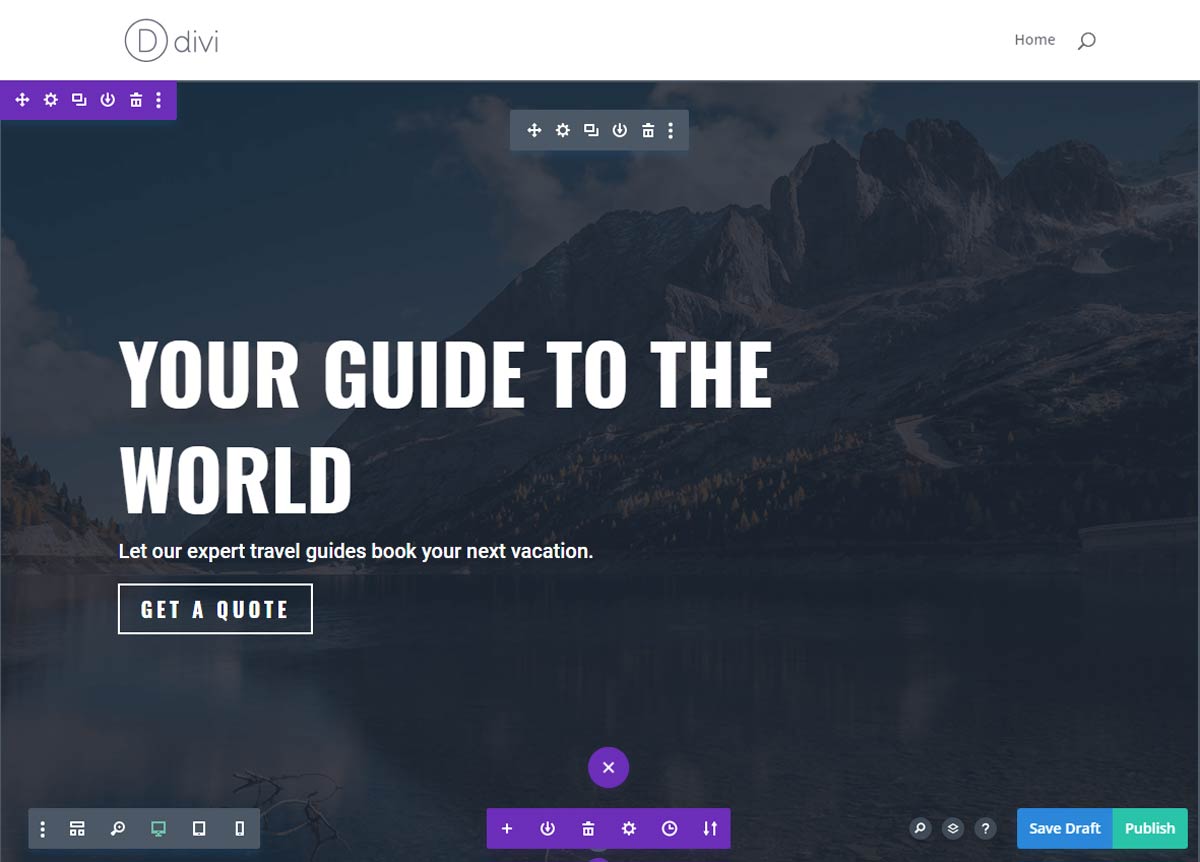
Let’s begin with the text. This includes the CTA, necessary links, and marketing pitch that we talked about earlier. You can either write them before you begin or fill in the fields as you go. Whichever approach you choose, try to keep it direct and brief.
Divi Builder layouts come with dummy text already included. This means you don’t have to add new text areas if you don’t want to – you can simply click on the fields to swap out the placeholder for your own copy.
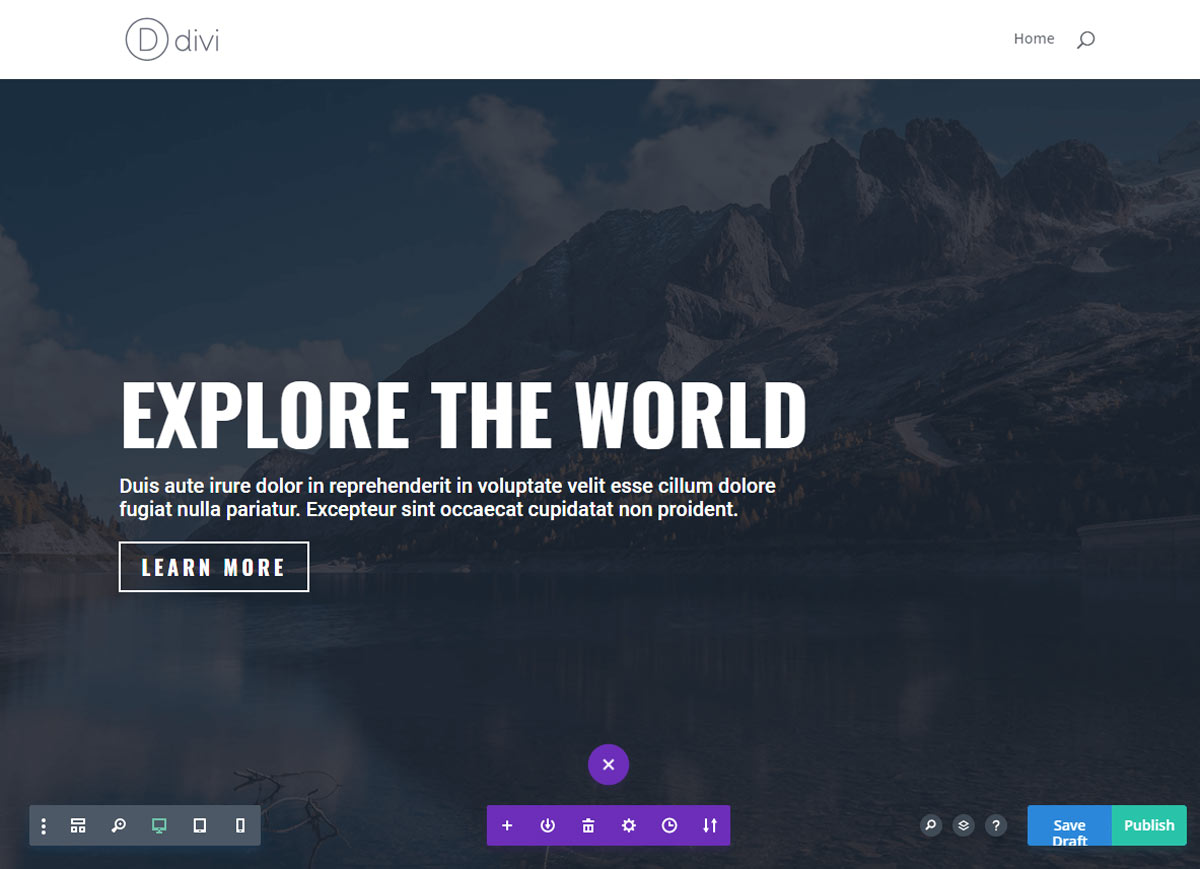
For example, we decided to change the Explore the World heading. All we did was select it and type in our own text:
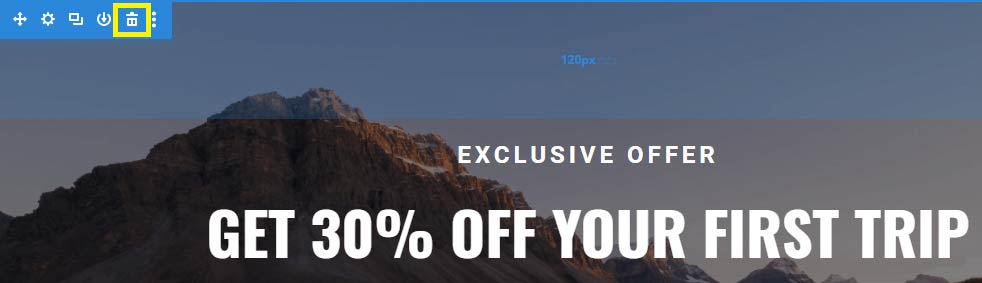
On the other hand, you might not need all the text fields that your landing page template provides. In that case, you can just delete them. Scroll over the area you don’t need, then click the garbage bin icon in the upper left corner:
You can also click the arrow icon on the far left of the same menu to move a section around, or the plus sign near the bottom of the page to add a new one. That’s one of the biggest advantages of layouts: they provide guidelines without restricting your creativity.
Remember to click Save Draft frequently. When you’re happy with the text, go ahead and move on to the final step.
Step 4: Add your images
When you’ve finished with the text, go ahead and move on to the images. Media can be a simple yet effective way to communicate with your audience. Screenshots of positive reviews, for example, can be an easy way to include social proof on your landing page.
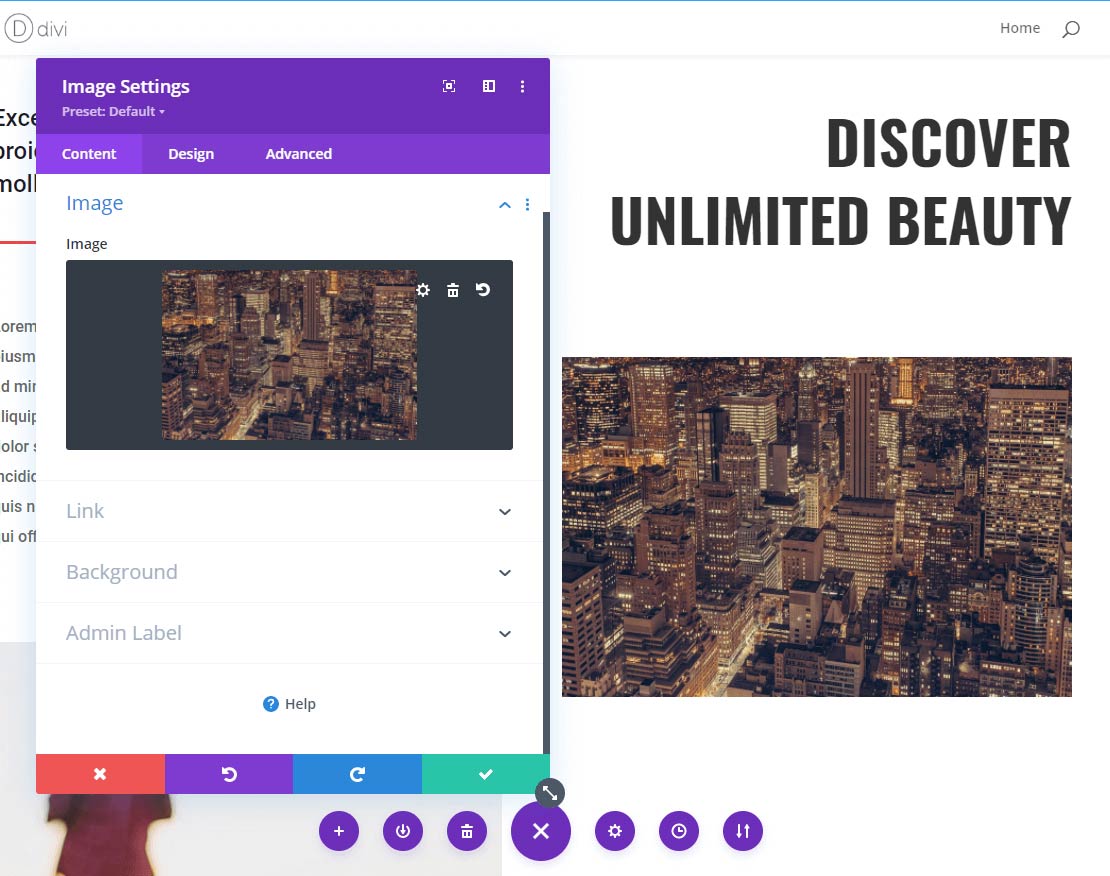
Start by finding an image you’d like to replace. Then, double-click on it to open the settings:
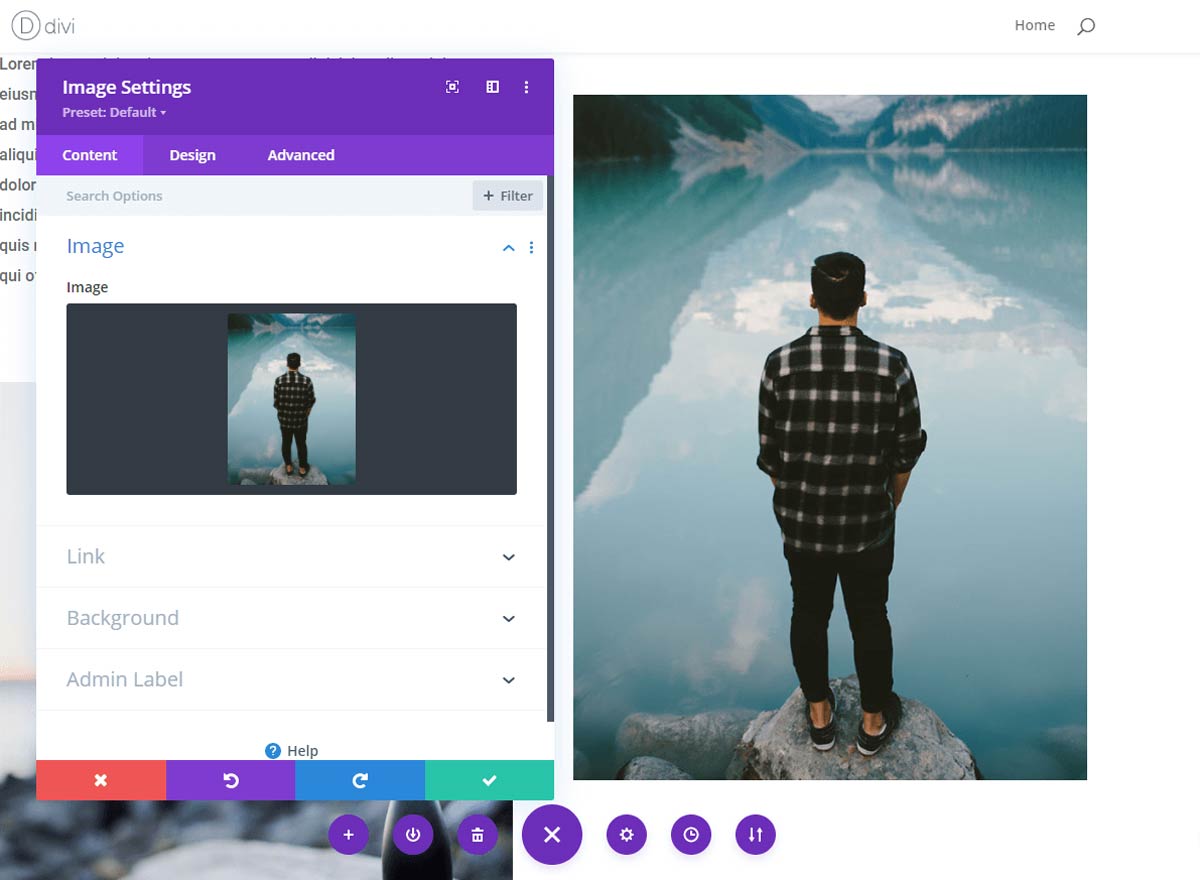
To swap it out, simply click on the Image section. You’ll then be able to upload new media or choose from your existing library. For example, here’s what ours looked like after adding our own image:
You have a lot of freedom with how you can edit media. However, it’s worth mentioning that you might want to pay attention to any huge differences in dimensions. Putting a large image in a small area may make your landing page look uneven.
To alter elements like alignment, borders, and filters, you can click over to the Design tab. You can also change any surrounding colors, but try to make sure that they pass any Section 508 compliance standards before you do so.
When you’re done with the photos, we recommend that you preview your new landing page before you publish it. You can do so by using the lower left-hand menu to swap between desktop, tablet, and mobile views. This is an easy way to make sure your content works properly on all devices.
When you’re ready to show off your landing page, simply click on the Publish button. Congratulations – you’ve just designed a world-class landing page!
Conclusion
Landing pages can play a crucial role in your conversion rates. Fortunately, you don’t have to be a tech whiz to create a high-quality one. With the help of the Divi Builder, you can use a premade template to kick-start your page-creating process.
In this article, we covered four steps to designing a world-class landing page with Divi:
- Purchase, activate, and install the Divi Builder.
- Choose a layout pack that fits your needs.
- Change the dummy text to your own copy.
- Replace the default photos with your own media.
At FreshySites, we’re a top Divi web design agency offering professional web design services to help you build the website of your dreams. If you want to discuss your design ideas with our experts, feel free to get in touch.


)