
Most of the time, you’ll update your WordPress website while it’s live. However, making drastic changes while people continue to access your site can be a recipe for disaster. Fortunately, you don’t have to edit your website in front of a live audience. By creating a custom maintenance mode, you can work on your site in private. Then, you can relaunch it once you’ve worked out all the kinks.
In this article, we’ll explore what maintenance mode is and why it’s so popular amongst developers, designers, and testers. We’ll then show you how to create a maintenance mode that gets people excited about your site’s grand reopening. Let’s get started!
An overview of making major changes to your WordPress website (and why it can be risky)
When you need to edit your WordPress website, you’ll typically apply these changes to your live site. For example, you might install updates, add more plugins, or publish new posts and web pages.
However, sometimes you may need to implement significant changes. For example, you might want to roll out a new layout or migrate your e-commerce store to an alternative payment gateway.
These large-scale changes often come with risks, including bugs, conflicts, or usability problems. They can lead to some unexpected behavior, which can be disastrous for the User Experience (UX). The issues can also damage your reputation as a professional and reliable website.
When you apply major changes to a live site, you’re also limiting your opportunity to test them. While you can always trial your updates in a private staging environment, many website owners encounter unexpected issues migrating from staging to live websites.
If you edit a live website, your visitors and customers become your test subjects. If you encounter a problem, you’re immediately under pressure to solve it before more people notice.
In the worst-case scenario, you may need to roll back the change. It can be a major headache for you as a website owner. It also often results in an inconsistent and confusing experience for your audience.
This is where maintenance mode comes in. Anyone who tries to access your website while it’s in this state will encounter a splash screen. In this way, you can make your site private and apply your changes without risking the UX.
How to put WordPress into maintenance mode
There are various plugins that you can use to create an attractive and informative maintenance splash screen. However, we’ll be using WP Maintenance Mode. It has many additional features that you can use to enhance your maintenance splash screen.
For example, you can use the plugin to add a timer so visitors can count down the hours until your site is back online. You can even embed a subscription field where users can sign up for notifications when you’re back up and running.
Once you’ve installed and updated the plugin, you can start creating a maintenance splash screen.
Step 1: Design a compelling splash screen
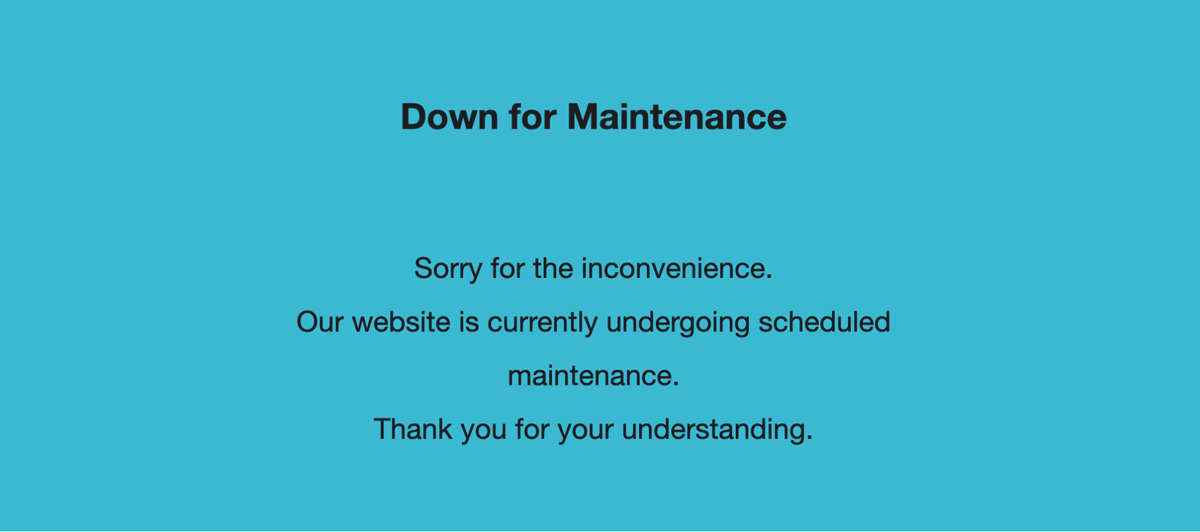
To start, let’s design the splash screen that you’ll display to visitors. You can keep this element straightforward and simply inform visitors that your website is undergoing routine maintenance.
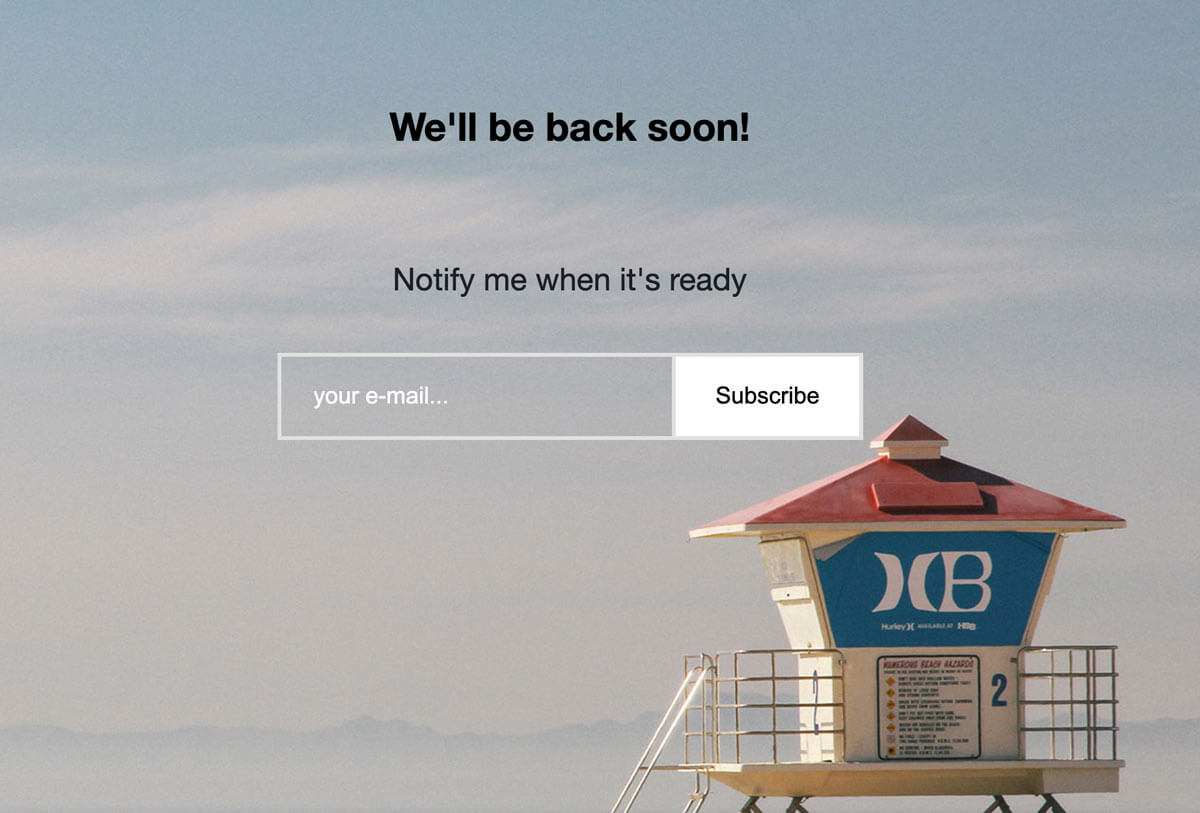
Even a brief note will reassure people that your site hasn’t vanished from the internet and will be returning soon:
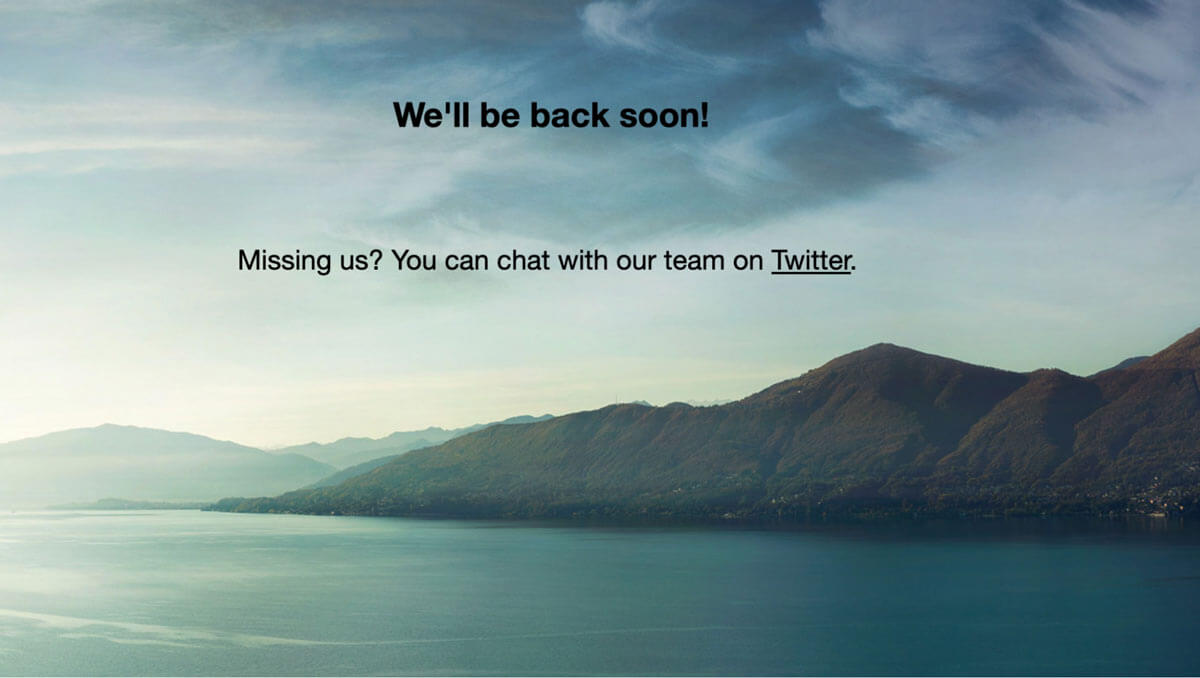
Alternatively, many website owners use splash screens to generate a buzz. For example, you might tease an upcoming redesign, new product launch, or other exciting new features:

Just because your site is down for maintenance doesn’t mean you need to stop engaging with your customers during this period. When designing your splash screen, you might include links to your social media accounts or any companion sites that you run:
To create your splash screen, navigate to Settings > WP Maintenance Mode in the WordPress dashboard. Then, select the Design tab:
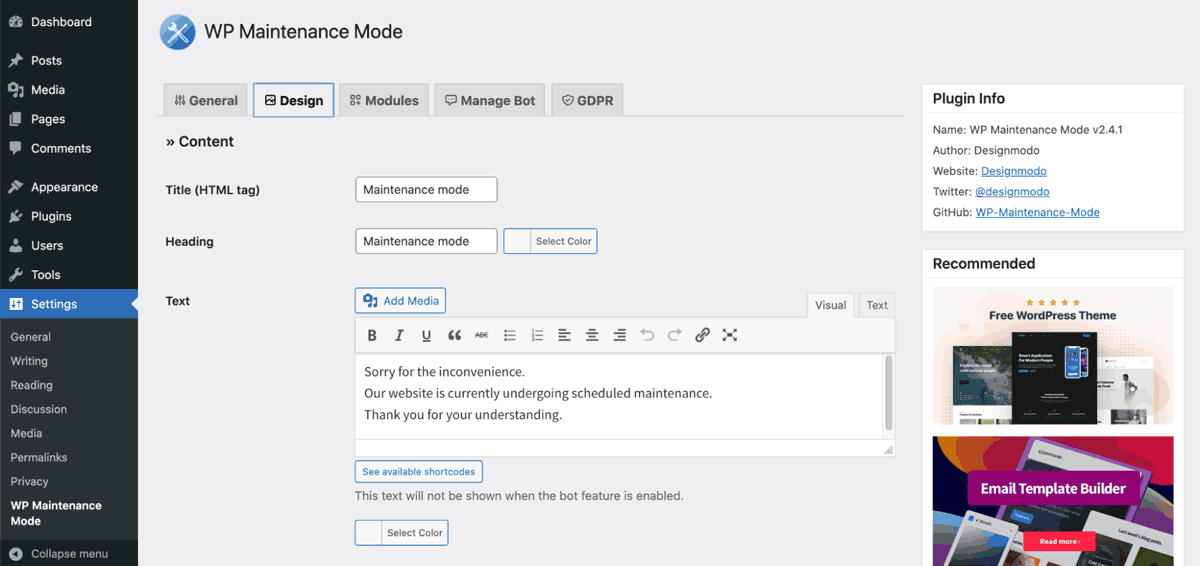
Start from the top and provide a title and heading from your maintenance page. Then, add all the text for the body of your maintenance splash screen.
WP Maintenance Mode provides a video embed shortcode compatible with YouTube, Vimeo, and DailyMotion content. Adding a relevant video to your splash screen can be a great way to engage with your visitors:
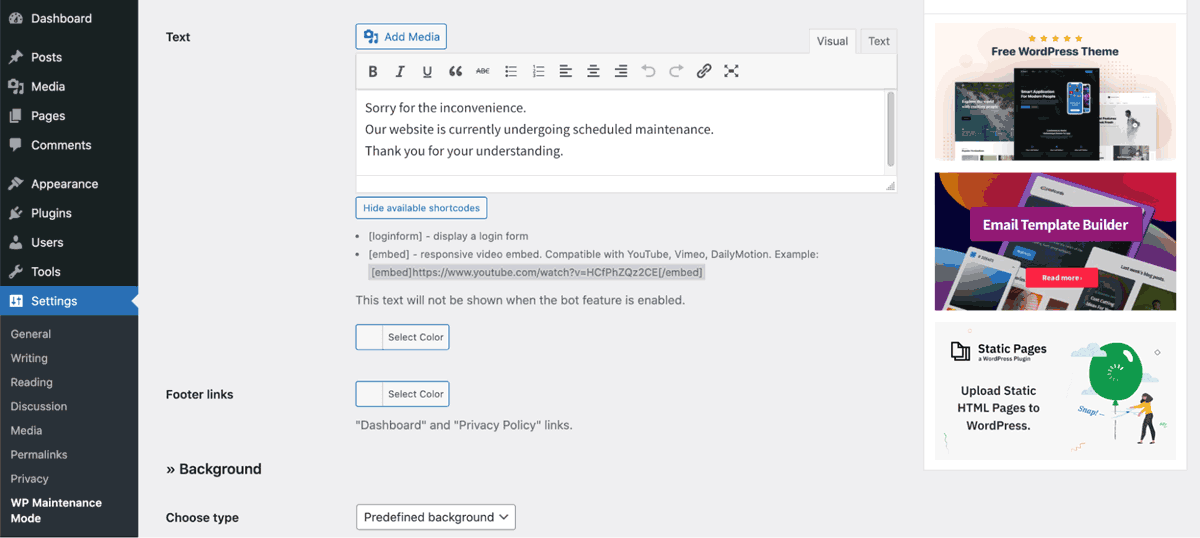
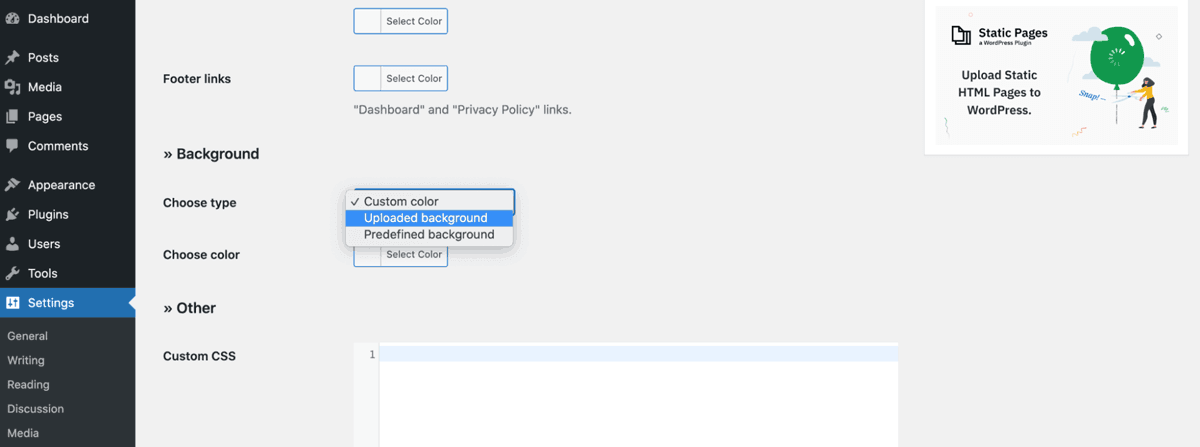
Next, scroll to the Background section and open the Choose type dropdown menu. Here, you can specify your page’s background color. Alternatively, you can upload an image to use behind your text:
If you don’t already have an image in mind, WP Maintenance Mode provides a range of built-in graphics that you can use instead. To check out these images, select Predefined background:
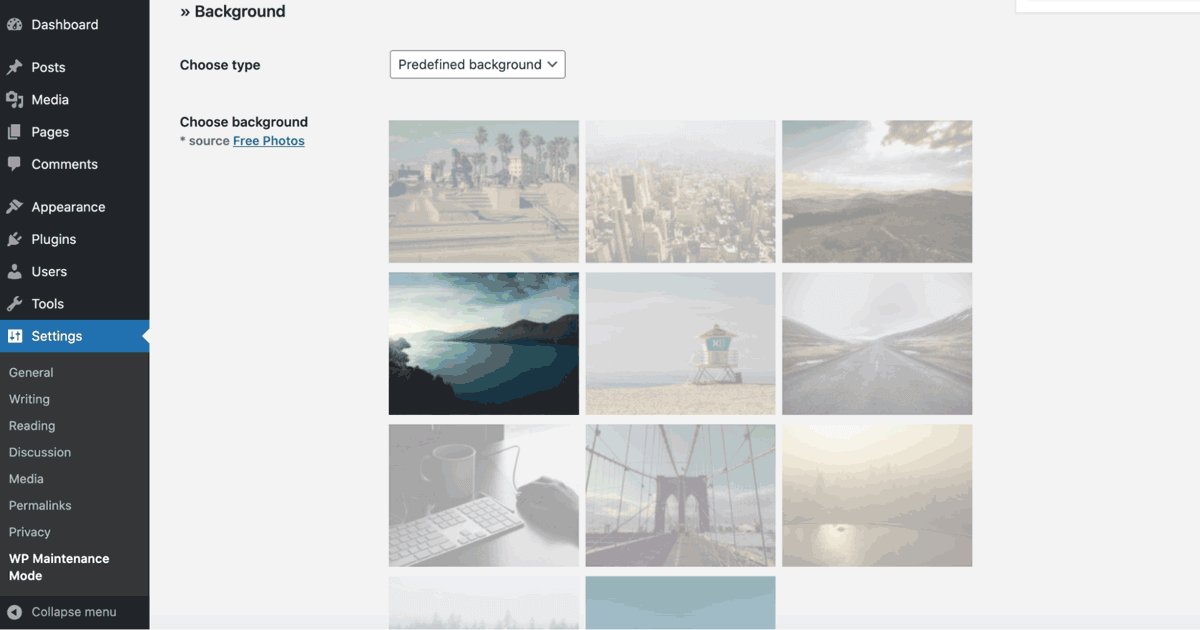
You can then choose from a range of ready-made images. Once you’re happy with your splash screen, click on Save settings.
Step 2: Add a subscription field
You may want to consider notifying your audience when your site reopens. This step is particularly important if you don’t have a scheduled relaunch date that you can share in advance. Instead of relying on your readers checking your site manually, you can notify them when your website is back online.
Notifications also work particularly well for sites that generate revenue, such as e-commerce sites. You may have missed out on a significant number of conversions while your store was undergoing maintenance.
Notifying customers as soon as your e-commerce store reopens can start bringing your traffic back to normal levels. This method can also repair your bottom line and recover lost revenue.
Using the WP Maintenance Mode plugin, you can add an email subscription field to your splash screen. Anyone who completes this form will receive a notification the moment your site exits maintenance mode:
It’s worth noting that subscribers will be notified directly from the WP Maintenance Mode plugin. Their contact information won’t be shared with any other mailing list software you’ve installed on your site. Unfortunately, this means you cannot use WP Maintenance Mode as a lead-generating tool.
To add a subscription field, navigate to Settings > WP Maintenance Mode > Modules. In the Subscribe section, enter the label that you want to display above your subscribe form:
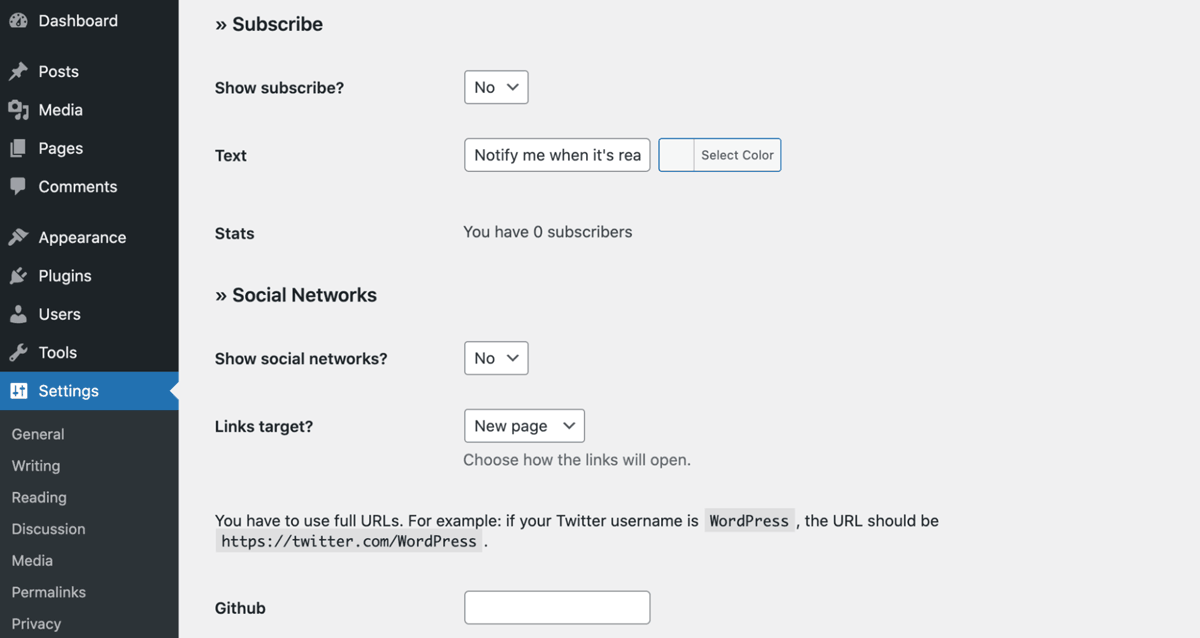
Next, open the Show subscribe dropdown and select Yes. While the maintenance mode is active, you can monitor how many people have subscribed to your notifications by navigating to Settings > WP Maintenance Mode > Module. You’ll find the total number of users in the Stats section.
Step 3: Set a deadline
If you know when your site will reopen, sharing this information with your audience could make sense. As such, you can create a sense of anticipation and even earn an influx of visitors on launch day:
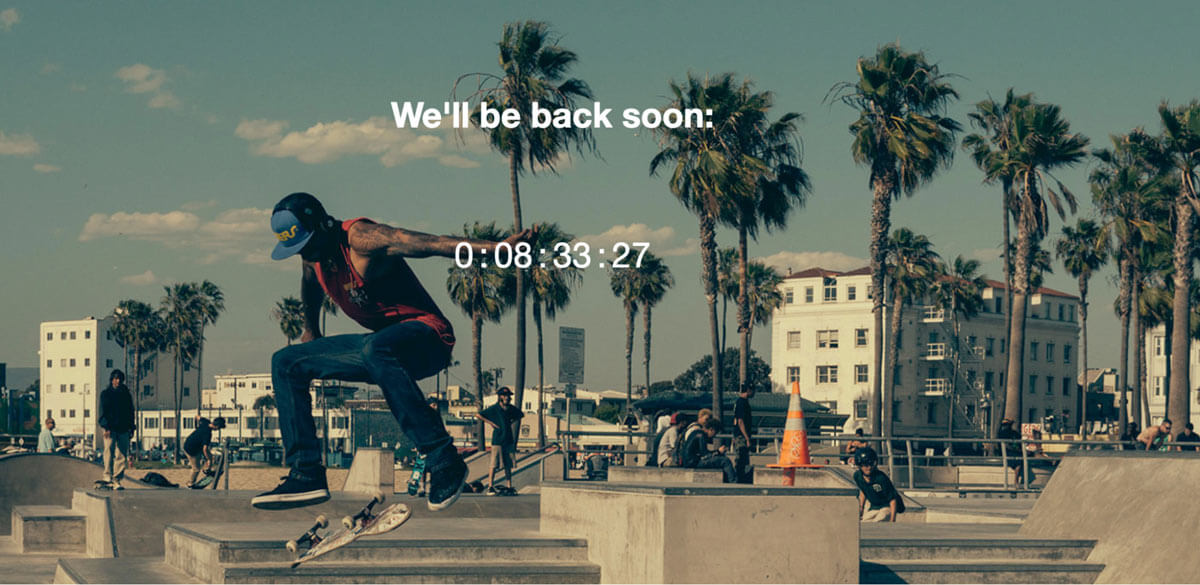
You may also want to set a deadline if you have a high-traffic site. The more people who visit your website, the more likely you will receive complaints, questions, and negative attention if your page disappears for an unspecified amount of time.
We also recommend adding a timer if customers pay to access your site’s content or functionality. This feature can help you avoid complaints and even calls to your service desk.
However, missing a deadline is typically worse than setting no deadline at all. If you’re unsure when your site will be ready for relaunch, then you may want to skip this step.
Alternatively, you can always take a cautious approach and give yourself some leeway. Very few people will complain if your site comes back online sooner than expected.
To add a countdown to your maintenance page, select the Modules tab. In Start date, specify the time when this countdown should start. This may be the moment when your site enters maintenance mode.
Alternatively, if your site is going to be offline for an extended period of time, then you may prefer to delay the countdown. For example, you can start it in the last few hours before your website reopens:
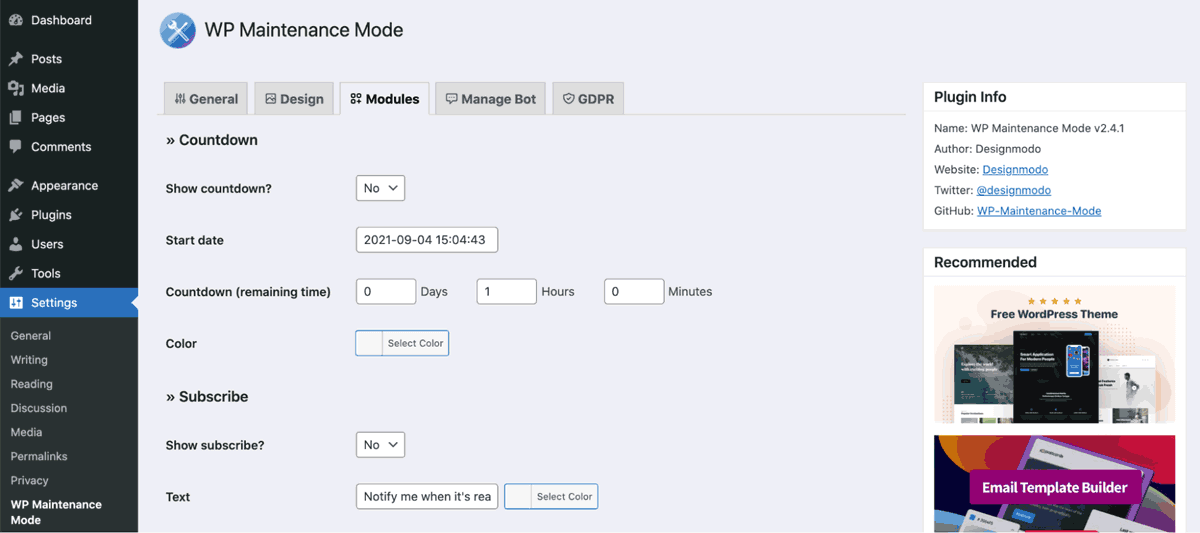
Next, enter the time remaining until this countdown expires in the Countdown field. To add this timer to your maintenance page, open the Show countdown dropdown and select Yes. Once you’ve finished, don’t forget to click on the Save settings button.
Step 4: Activate maintenance mode
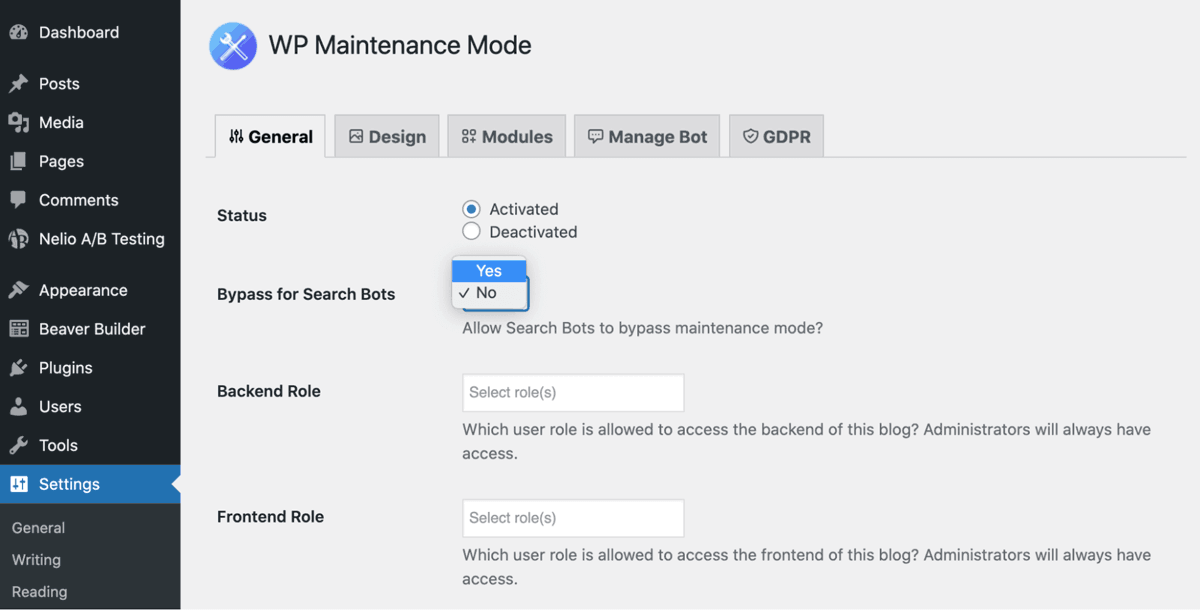
Before activating maintenance mode, you may want to consider enabling Bypass for Search Bots. It ensures that search engines can continue to access your site while it’s in maintenance mode. As such, it can help preserve your hard-won Search Engine Optimization (SEO) rankings.
To use this feature, navigate to Settings > WP Maintenance Mode. You can then open the Bypass for Search Bots dropdown and select Yes:
As always, remember to save your changes. You can now activate your splash screen at any time. To switch to maintenance mode right now, navigate to Settings > WP Maintenance Mode > Mode. You can then select Activated.
Scroll to the bottom of this screen and select Save settings. Now, if you visit your site, you should see your maintenance splash screen. You can now work on your website in private without risking the UX.
When you’re ready to relaunch your WordPress website, navigate back to Settings > WP Maintenance Mode > General. You can then select Deactivated > Save settings:
WP Maintenance Mode will respond by taking down the splash screen, and your site will be accessible once again. If you added a subscribe form to your maintenance page, then everyone who submitted entries will be notified that your website is back in business.
Conclusion
Most of the time, you can update your site while it’s live. However, sometimes you’ll need to roll out significant changes that may result in bugs, conflicts, downtime, and other disruptions. Putting up a splash screen can give you the time you need to adjust your website.
With that in mind, let’s quickly recap how to create a private maintenance mode for your WordPress website:
- Design a compelling splash screen using the WP Maintenance Mode plugin.
- Add a subscription field.
- Set a deadline.
- Activate maintenance mode.
Once you finish your maintenance, you can deactivate your splash screen. Then, you’ll be ready to debut your new website to your readers!


)