

You’ve tested your redesign, verified the new plugins, and confirmed everything works the way you want. Now you need to push those changes from your staging environment to your live website without breaking anything your visitors depend on.
For most WordPress sites, this process is more straightforward than it sounds. The right migration plugin handles most of the heavy lifting, and the four steps in this guide walk you through the complete process from export to live testing.
Here’s what we cover:
- What a WordPress staging site is and why every serious site should use one
- The critical preparation steps before you begin any migration
- The four steps to migrate your WordPress staging site using All-in-One WP Migration
- What to do after migration, including URL fixes, permalink flushing, and testing
- When manual migration is necessary, and when to hand it over to a professional
Freshy handles WordPress migrations for businesses that don’t want to risk their live site during a transition. If you’d rather have an expert manage this process, get in touch with our team before you start.
What is a WordPress staging site?
A staging site is an offline copy of your live website. WordPress developers and site owners use this private environment to test new features, install new plugins, experiment with design changes, and work on complete redesigns without affecting the live site or the visitors using it.
Using a staging site reduces the risk of errors on the live site that could damage your user experience, break conversion flows, or take the site offline unexpectedly. Staging sites allow testing of new features without affecting live sites, which is why professional WordPress development workflows always include a staging environment before any significant changes go to production.
The core reasons to use a staging environment:
- Make significant changes to content, design, and functionality without risking the live site
- Test new plugins and themes and identify conflicts before they affect real visitors
- Redesign pages at your own pace and push them all at once when ready
- Catch errors before they affect site performance, UX, and conversions
- Ensure your active site continues to run smoothly throughout the development process
Some managed WordPress hosting providers include a built-in staging environment with a one-click push feature. When that’s available, it’s the fastest path to migrating your staging site to the live site. If you’re using a third-party staging service like WP Staging or Local by Flywheel, the process requires a few more steps, but it’s still manageable with the right migration plugin.
Before you start: essential preparation
Before touching anything on either your staging site or your live website, two things must be done.
Back up both sites
Always back up your production site before migration. This creates a restoration point that protects you if anything goes wrong during the import process. Back up your staging site as well. If you discover a problem after migration that traces back to something on the staging version, a staging backup lets you investigate without relying on memory.
Our WordPress backups service keeps 90 days of full-site backups on hand for exactly these situations. If you’re managing backups yourself, read our guide on how to back up your WordPress website before proceeding.
Understand which content will be overwritten
This migration method is best suited for websites that rely on owner-generated content, such as blog posts, pages, design changes, and new plugin configurations.
If your live website contains a significant volume of user-generated content submitted after your staging site was created, including comments, form submissions, WooCommerce orders, or membership activity, this method will overwrite that data. Exclude WooCommerce order tables to avoid overwriting live data if your site processes ongoing transactions.
For sites with heavy user-generated content, migrating files manually via FTP alongside a selective database export through phpMyAdmin is the safer approach. That process is more complex, and you may want to work with a WordPress professional rather than handle it yourself.
How to migrate your WordPress staging site in 4 steps
The simplest way to move your staging site to the live site is by using a WordPress migration plugin. This tutorial uses All-in-One WP Migration, a free plugin that copies, backs up, and migrates site content with minimal friction.

Step 1: Install and activate All-in-One WP Migration
Let’s start by installing and activating the migration plugin. You’ll need to do this on both the staging site and the live one.
Open your staging site and navigate to Plugins > Add New in your WordPress dashboard. Then, search for “All-in-One WP Migration”:

Next, click on Install Now, followed by Activate. Once the plugin is up and running, you can move on to the next step. However, remember that you’ll also need to add this plugin to your live site.
Step 2: Export the content on your staging site
The next step is to make a copy of your staging site. To do this, navigate to All-in-One WP Migration > Export in your dashboard:

Before you proceed with exporting your staging site, you may want to configure a few settings. If you click on Advanced options, you’ll get a list of content that you can exclude from the process:

For instance, you may choose not to migrate the themes or plugins on your staging site to the live version. If this copy of your website contains content that has since been deleted from your live site (such as spam comments), it may also be worthwhile to exclude it from the export. Then, you won’t have to remove it again once your changes go live.
When you’re ready, click on the EXPORT TO button. Doing this will give you several location options for your exported content:

For instance, you may want to make a secure backup of your content with a cloud storage service, such as OneDrive or Amazon S3. For this tutorial, we recommend selecting the File option. This will download a copy of your staging site to your computer.
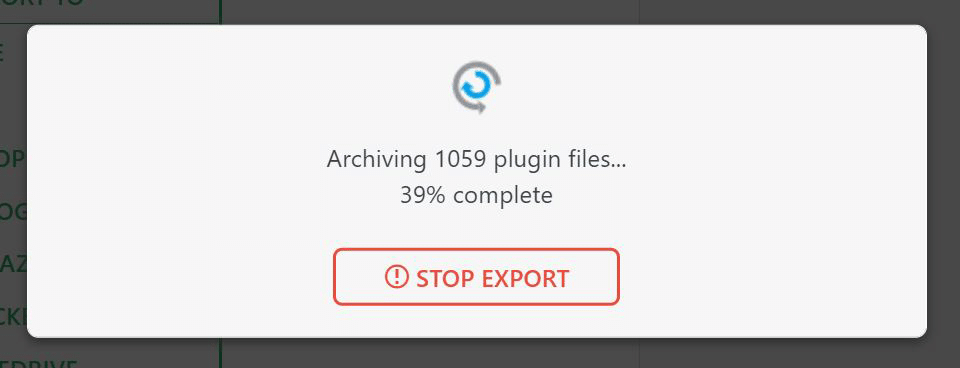
The plugin will now export your content. The process may take a while, depending on the size of your site:
Once it’s done, click on the green button in the pop-up window. A .wpress file will download to your computer:
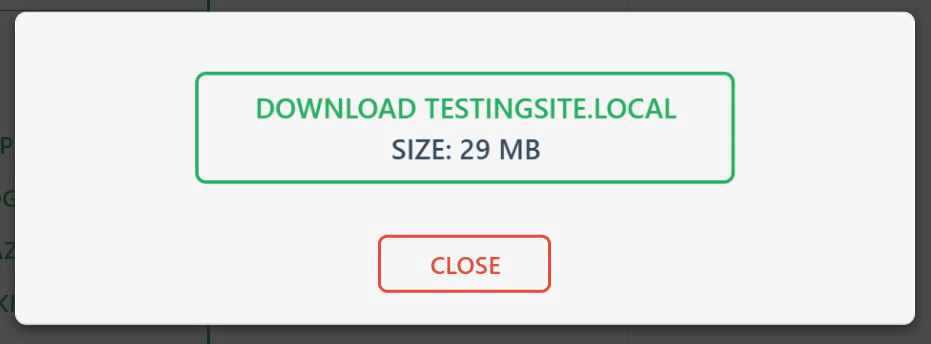
Once that’s done, you can go ahead and close the pop-up window. Your staging site is now ready to go live.
Step 3: Import the new content into your live site
Next, we’ll be importing the content of your staging site to your live website. This step will make your changes viewable to your users.
Start by heading to the WordPress dashboard of your live site. If you forgot to install the migration plugin earlier, you should do this now. This is also the right time to ensure that you have a recent backup of your live site.
When you’re ready, navigate to All-in-One WP Migration > Import:

Note that there is an upload file size limit of 300 MB. If you have a large site, you may need to upgrade to the plugin’s premium version.
Next, click on the IMPORT FROM button and choose FILE from the drop-down menu. Then, locate and select the .wpress file you downloaded earlier.
A warning message will appear, reminding you that the import process will overwrite the content on your live website:

If you’ve already backed up your live site, you can go ahead and click on Proceed. The plugin will now initiate the import process. This may take a while to complete, depending on the size of your file.
Once the import is ready, you’ll see the following message:

The plugin will ask you to save your permalinks structure by clicking on the suggested link. Alternatively, you can click on Finish to close the window, then head to Settings > Permalinks. Here, all you have to do is select the Save Changes button at the bottom of the page.
Flushing permalinks in WordPress is important to ensure URLs resolve correctly after migration. Skipping this step frequently causes 404 errors that appear to have no obvious cause.
The migration process is now complete. However, there’s one last thing you’ll need to do.
Step 4: Test your new website
All-in-One WP Migration makes the staging site migration process straightforward, but testing your live website after migration is a non-negotiable final step. Problems that weren’t visible during staging sometimes only appear in the live environment, where URLs, email configurations, and third-party service connections behave differently.
What to check after migration:
- Verify that all new plugins and tools imported from the staging site are active and functioning
- Test all forms, contact forms, and any submission flows to confirm they’re working and sending to the right email addresses
- Check all internal links to confirm they resolve to the correct pages without errors
- View redesigned pages on multiple devices to confirm mobile responsiveness
- Test navigation menus, buttons, and calls to action to ensure they point to the correct destinations
- If your site uses WooCommerce, run a test transaction to verify the checkout flow is intact
- Confirm that your site’s ADA accessibility features are functioning correctly if your site is subject to compliance requirements
Run a database search-and-replace after migration to fix any remaining staging site URLs that may have been embedded in the content or database. Tools like Better Search Replace make this straightforward. Search for your staging site URL and replace it with your production domain to eliminate broken links or incorrectly referenced assets.
Alternative migration approaches worth knowing
Here are some alternatives:
WP Staging Pro
WP Staging Pro can push all media files and database data from staging to production directly through the WordPress dashboard. For larger sites or workflows where All-in-One WP Migration’s free file size limit is a constraint, WP Staging Pro’s direct push approach eliminates the export-import steps entirely.
Select database tables to push from staging to production selectively, which is particularly useful when you want to push design and content changes while preserving the live site’s transaction data.
phpMyAdmin for manual database migration
phpMyAdmin is commonly used to export and import database files during migration. For manual migrations, export the staging database through phpMyAdmin, clear old database tables on the live site before importing, then run a search-and-replace on URLs to update the staging site URL to the production domain. FTP handles the file transfer component.
This approach gives you the most granular control over exactly what transfers, but it requires more technical comfort with database operations. If you’re not confident working directly with database tables, the plugin-based method covered in this article is the safer path.
Host-provided staging environments
Many hosting providers include built-in staging environments with one-click push functionality. BlogVault offers staging site hosting on its own servers alongside automated migration. If your current managed WordPress hosting plan includes a staging environment, check whether a one-click push is available before using a third-party plugin, as it typically handles URL updates and database synchronization automatically.
Let Freshy Handle Your WordPress Migration From Start to Finish
Migrating a WordPress staging site is manageable when the site is straightforward, and you’ve prepared correctly. The four-step process in this guide works reliably for content-based sites where no significant user-generated data has accumulated on the live site since the staging version was created.
Key takeaways:
- A staging site is an offline copy of your live website used to test changes safely before they go public
- Always back up both your staging site and your live site before beginning any migration
- All-in-One WP Migration handles the export and import process cleanly for most WordPress sites within the 300 MB free limit
- Exclude WooCommerce order tables and other transactional data to avoid overwriting live business data
- Flush permalinks immediately after migration to prevent 404 errors on the live site
- Run a database search-and-replace after migration to update any remaining staging URLs
- Sites with heavy user-generated content or large file sizes should consider WP Staging Pro, phpMyAdmin, or a managed migration service
For sites with complex functionality, large databases, or active ecommerce operations where the migration carries real risk, handing the process to an experienced team is the right call. Our WordPress migration service handles the full process safely and efficiently, so your live site stays stable throughout. Request a quote today and let Freshy manage your migration from start to finish.
FAQs
What is a WordPress staging site, and why do I need one?
A staging site is an offline copy of your live website where you can test new features, install plugins, redesign pages, and make significant changes without risking your production site. Using a staging site reduces the risk of errors, downtime, or broken functionality affecting real visitors. It’s a standard part of professional WordPress development workflow for any site where reliability matters.
What is the easiest way to migrate a WordPress staging site to a live site?
The easiest approach for most sites is using All-in-One WP Migration, a free plugin that exports your staging site as a single .wpress file and imports it into your live site through the WordPress dashboard. The process works well for sites under 300 MB. For larger sites, the plugin’s premium version removes the size restriction. Some managed hosting providers also offer one-click push from staging to live, which simplifies the process further.
What should I do before migrating my WordPress staging site?
Back up both your staging site and your live site before starting. Create backups in a location you can access independently of the WordPress dashboard in case the migration causes access issues. Identify whether your live site has accumulated user-generated content such as comments, form submissions, or WooCommerce orders since the staging site was created, as this data will be overwritten by the migration.
Why do I need to flush permalinks after migrating my staging site?
WordPress stores the permalink structure in the database, and after importing a new database from your staging site, the live site sometimes fails to resolve URLs correctly. Flushing permalinks forces WordPress to rebuild the URL routing rules, which prevents 404 errors that appear after migration. Navigate to Settings > Permalinks and click Save Changes without modifying anything to trigger the flush.
How do I fix broken URLs after migrating from staging to live?
Run a database search-and-replace to update any staging site URLs that remain in the database. The free plugin Better Search Replace handles this through the WordPress dashboard. Search for your staging domain, such as staging.yourdomain.com, and replace it with your production domain. This fixes broken links, incorrectly loaded assets, and any other content that references the staging URL.
When should I hire a professional to migrate my WordPress staging site?
Hire a professional when your live site has active ecommerce transactions, when your database is large enough to exceed standard plugin limits, when your site requires selective migration of specific database tables, when you’re not comfortable with phpMyAdmin or FTP, or when the migration is part of a larger project involving a redesign, platform change, or hosting move. Our WordPress migration service covers all these scenarios with a structured, tested process.




)